


I posted
Planting Tomatoes for Family Home Evening last year. It ended up being a good way for me to see this year how my tomato plants compare to last year"s plants. So I am going to document the process again this year so that I have something to also compare it to next year. We have had very brutal weather for the first two weeks after planting this year(very strong winds that tried to blow the cages away and did blow tops off the cages, lots of rain, 4 or more inches of snow, and freezing temperatures, and power outages that prevented the light bulbs from lighting the tomatoes for 24 hours, etc.), but despite all that the tomato plants are hanging on so far. I wish I could have taken pictures of all this, but I was in Arizona for those two weeks. Janae and Michael tenderly cared for them while I was away or they would have froze for sure.
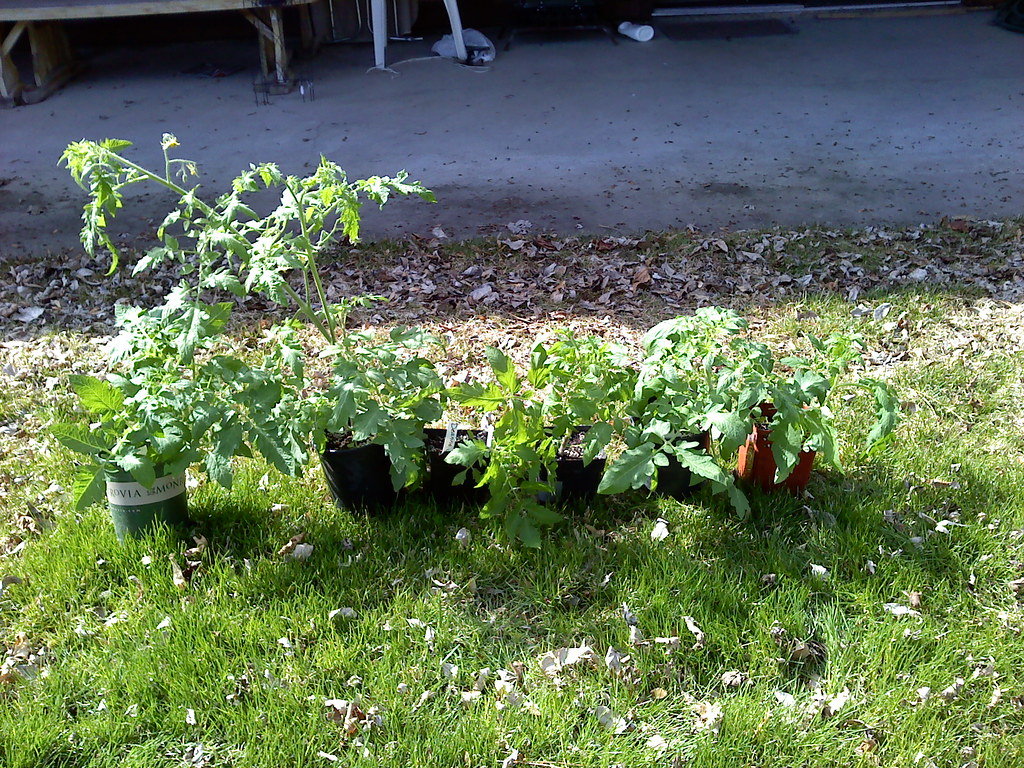
I planted on April 16th this year compared to April 11th last year. Last year I planted
3 Big Beef and this year I planted 3 Big Beef as well as
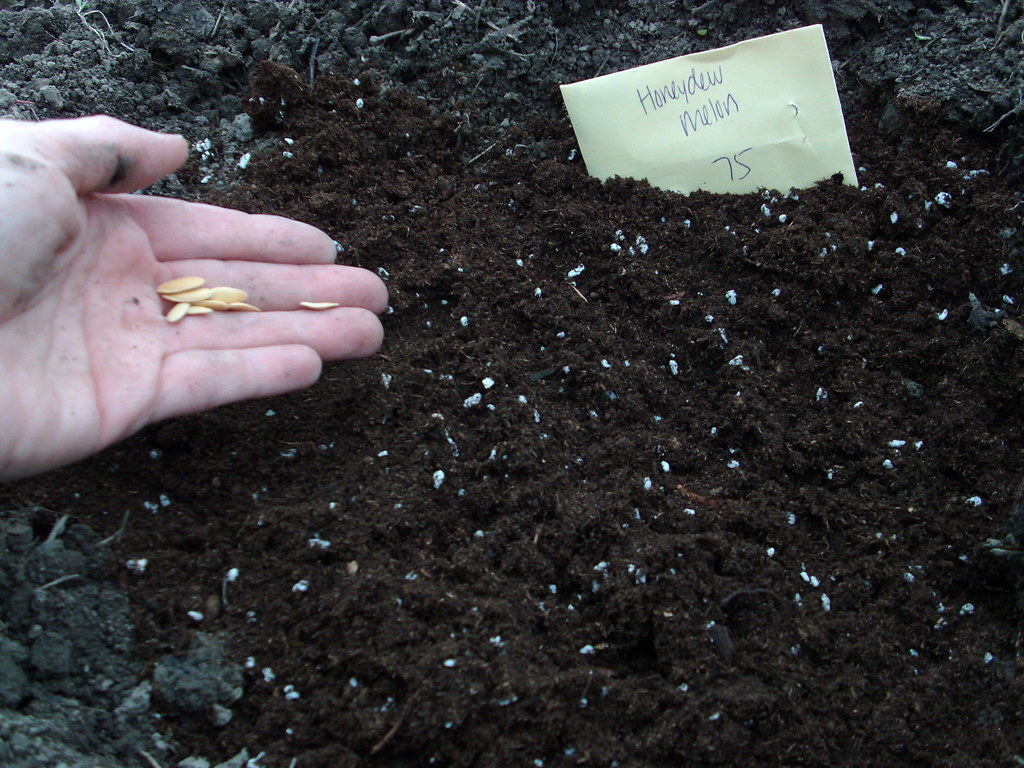
2 Romas and 1 plant called "
Kelloggs Breakfast." The Big Beef plants were smaller
this year compared to
last year, but the 2 Roma plants are comparable in size to last year's Big Beef. The Kellogg's Breakfast is bigger than last year's plants.
I did everything much the same this year as last year except I made
3 new bigger cages. Last year the cages were too small. The holes where you reach in and pick the tomatoes were
too small to pull the tomato back
out of the cage. So this year I made bigger cages like
Verlin Simmons' tomato cages. I made 3 new bigger ones and I am
re-using 2 from last year. One from last year was completely destroyed.
I called Fonsbeck nursery and asked them to grow me some tomato plants beginning in about February. I picked them up on
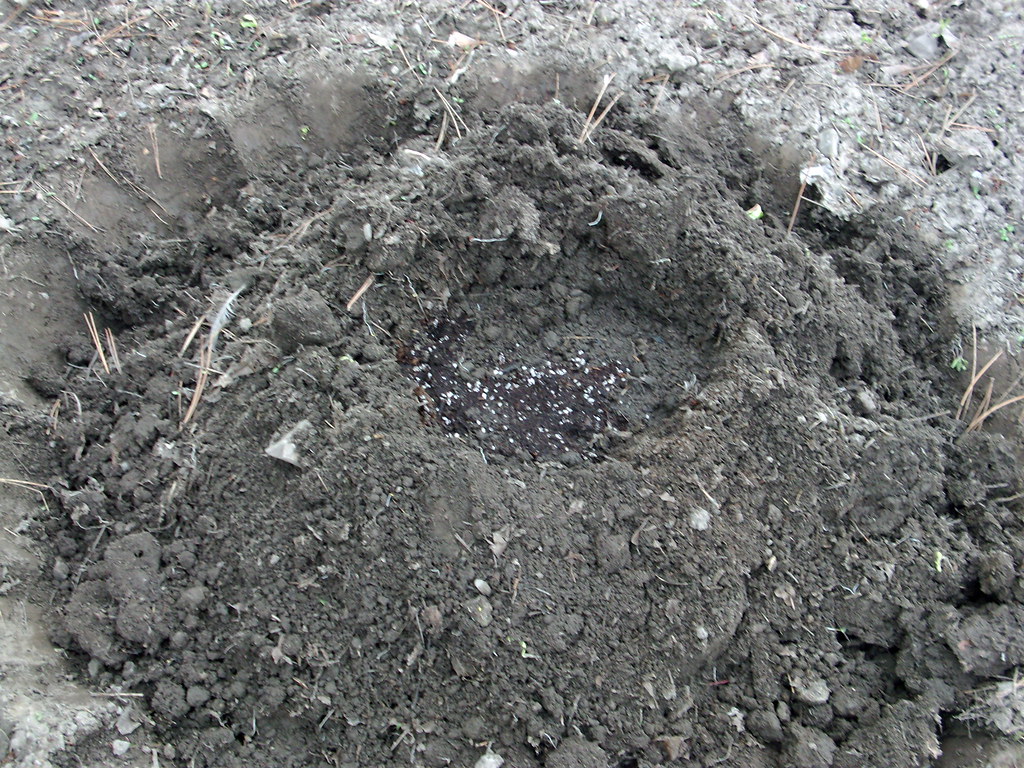
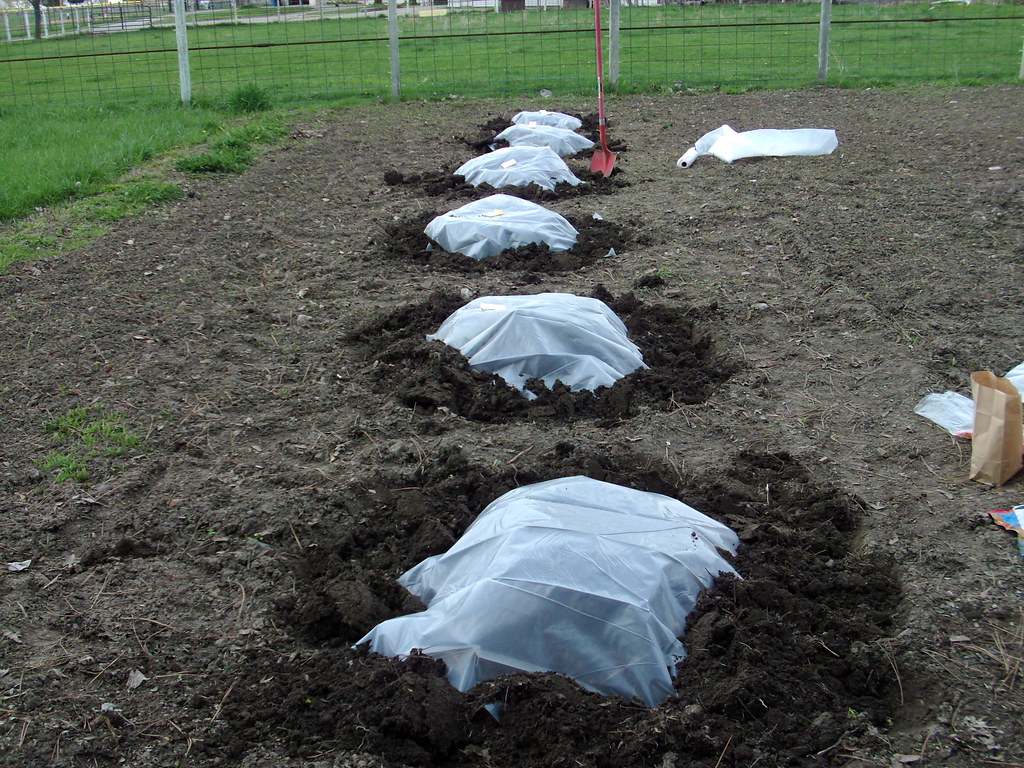
April 11 and planted them the same day. Last fall I dug the holes and built up raised
circle-like places to plant them in the Spring. I try to do this
like Verlin Simmons does his. I purchased a
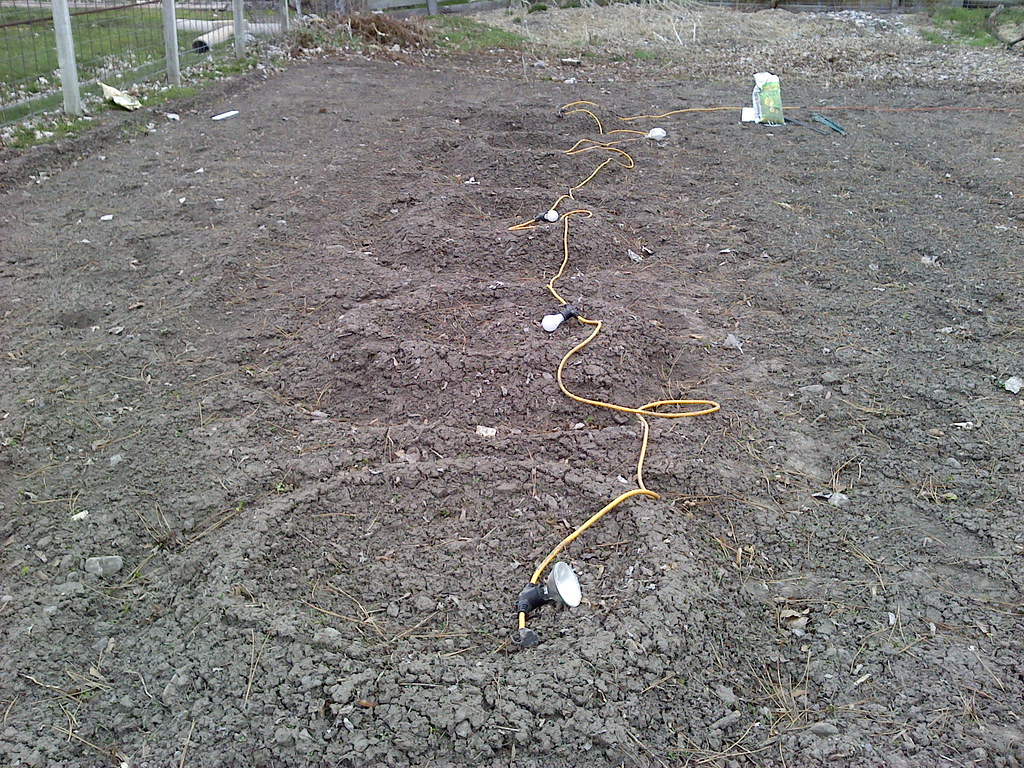
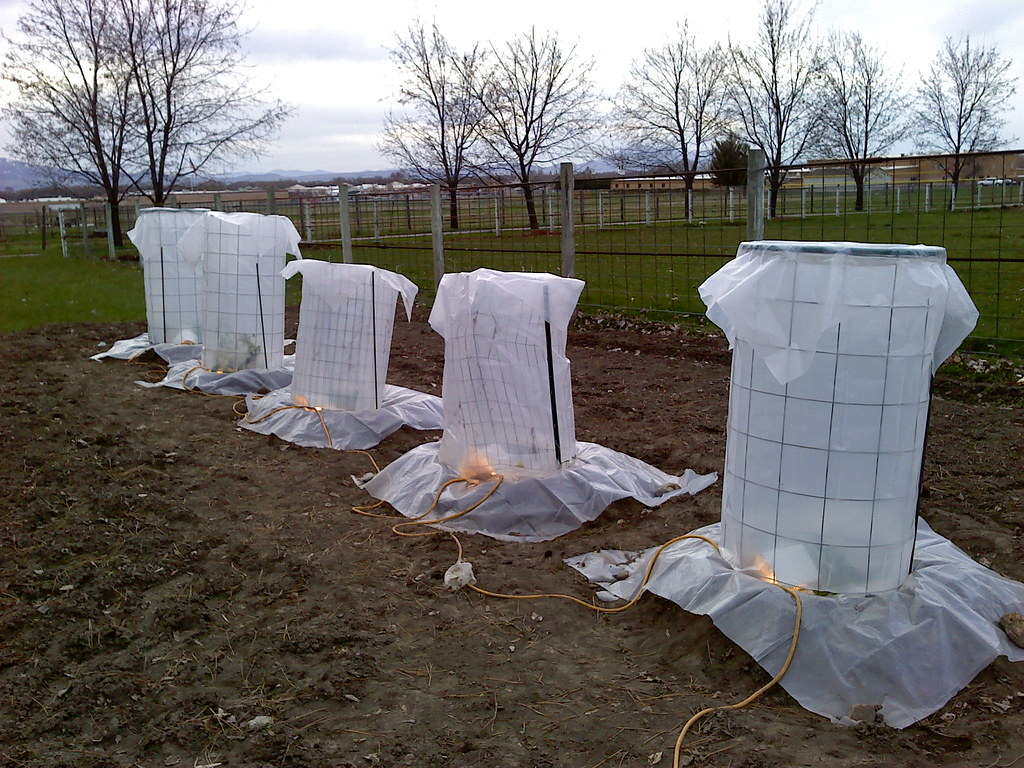
lighting system from Home Depot that has a string of 5 outdoor lights that take a 100 watt light bulb. They are connected to each other and to the house by an extension cord.
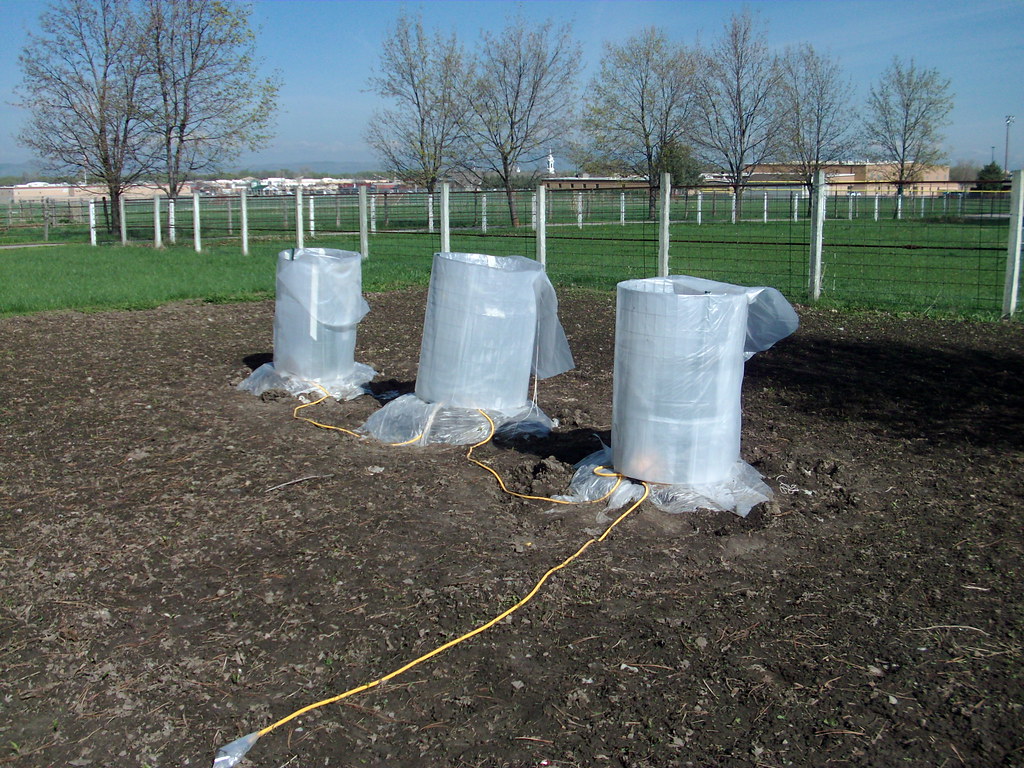
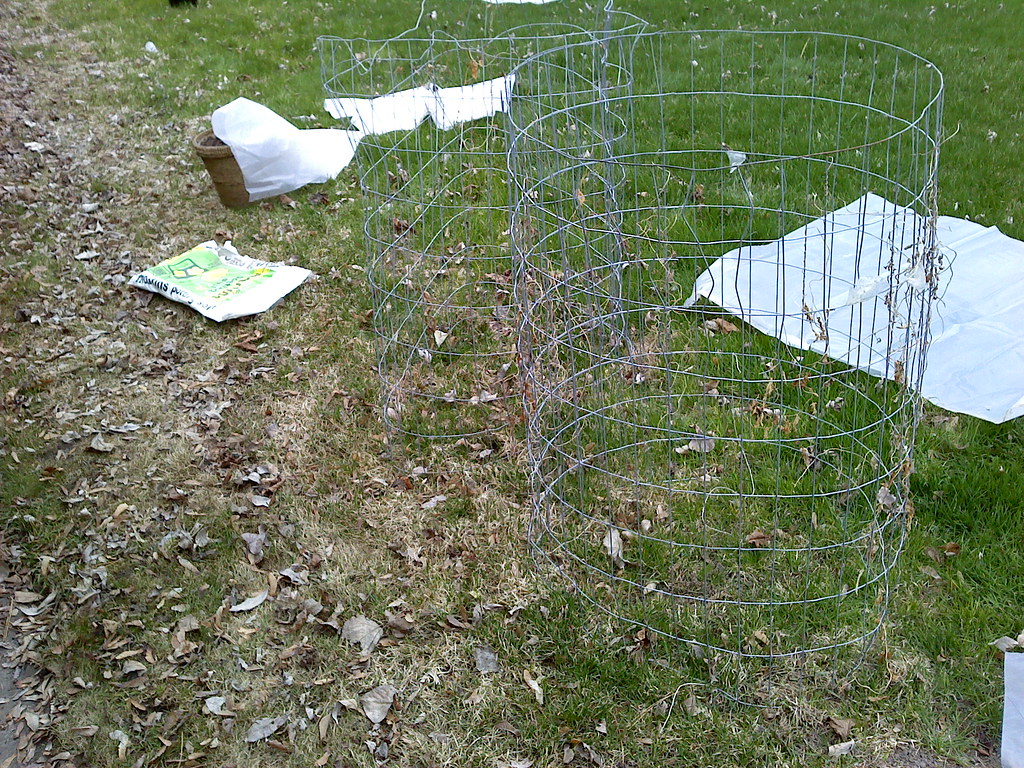
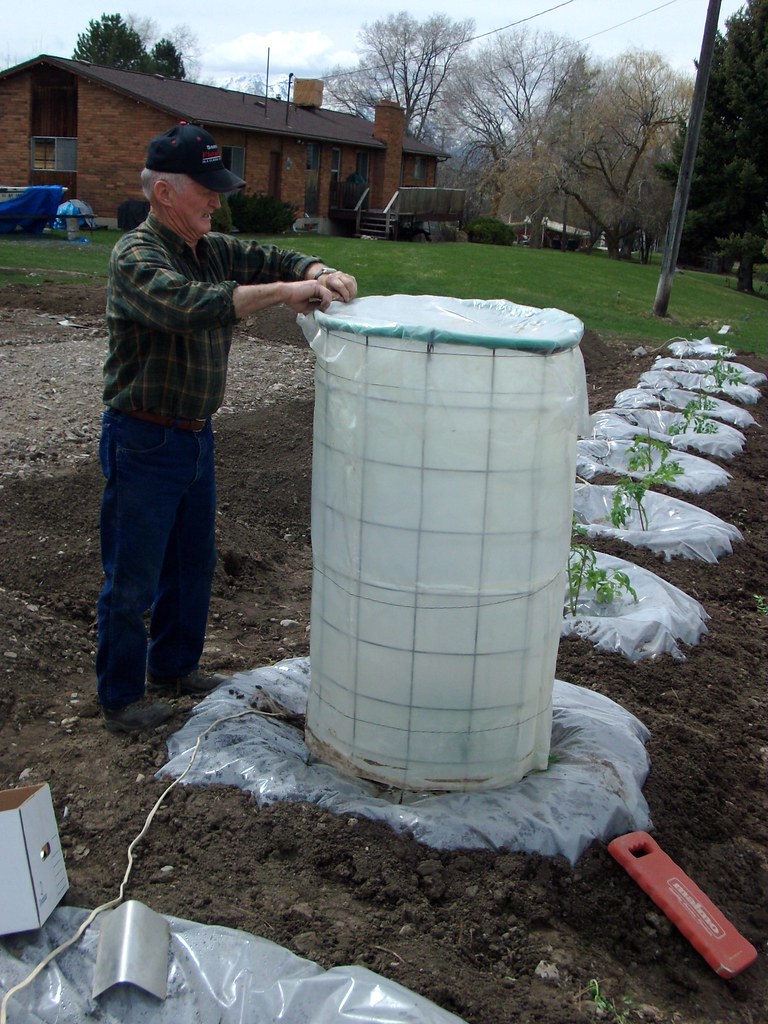
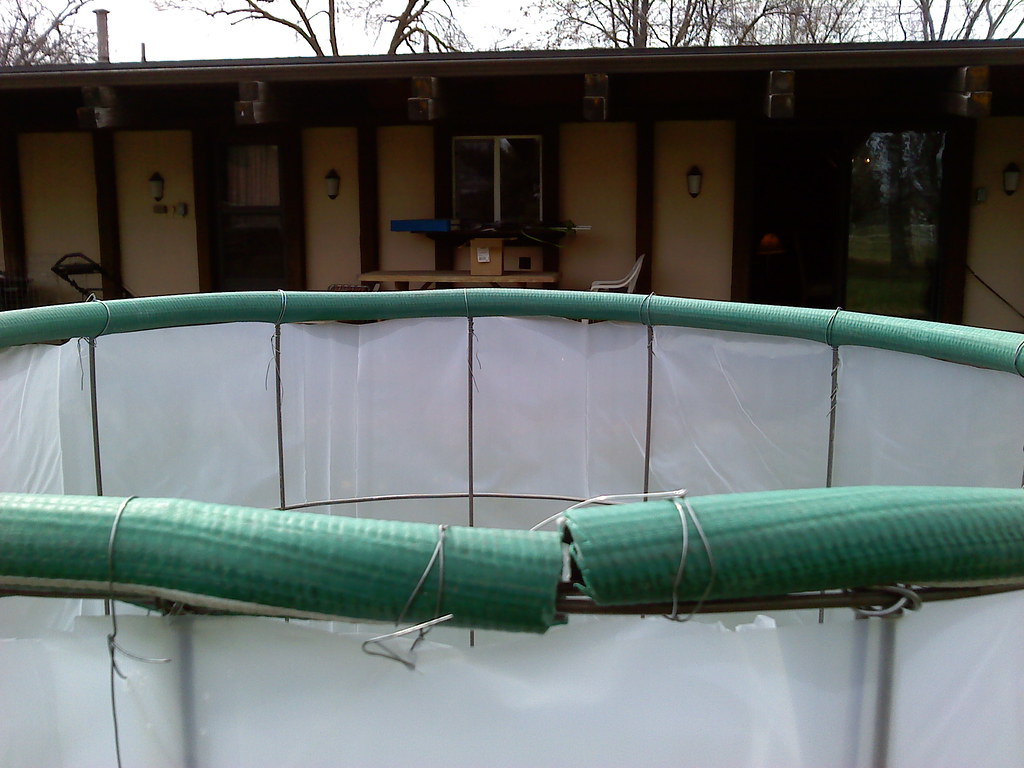
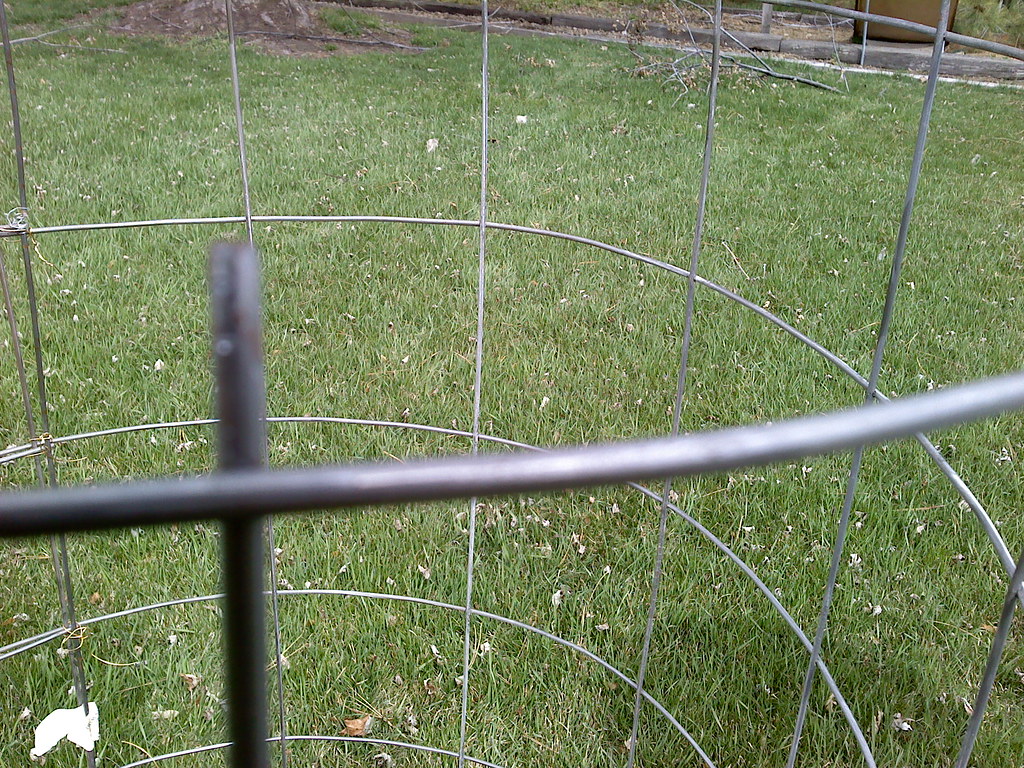
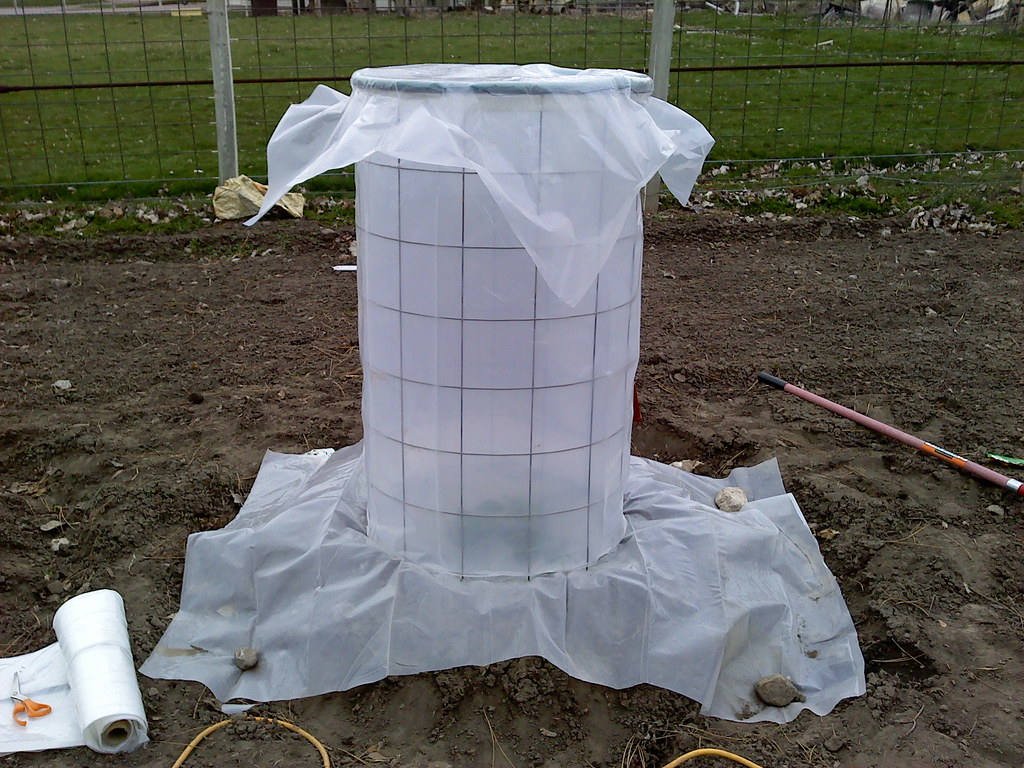
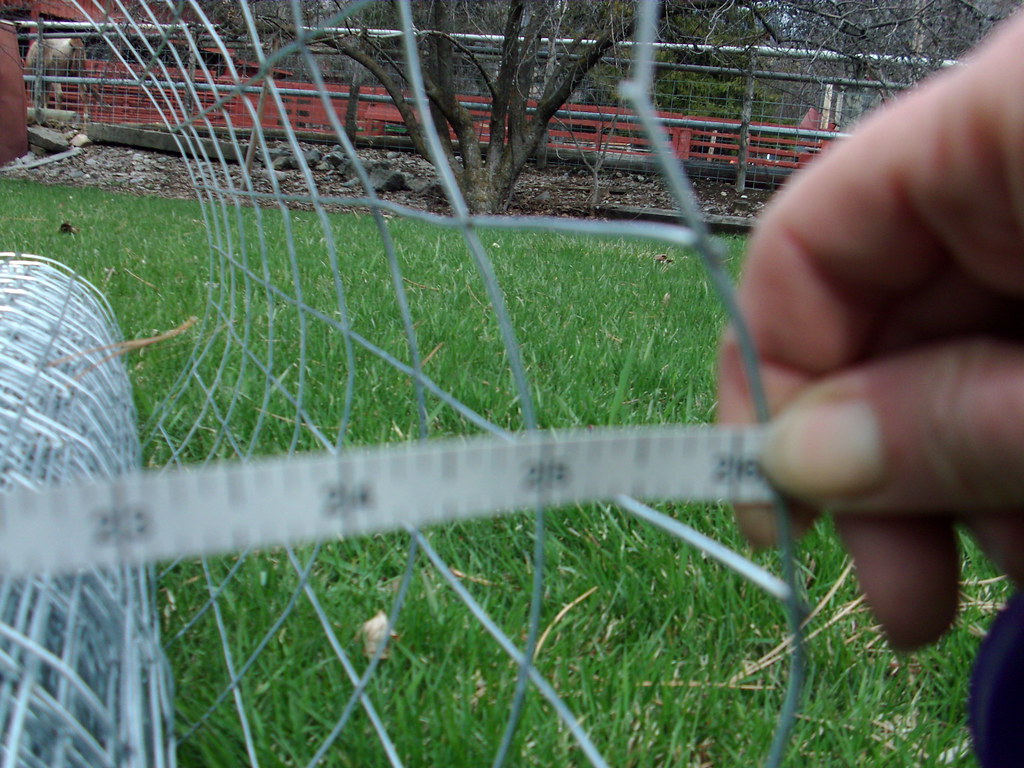
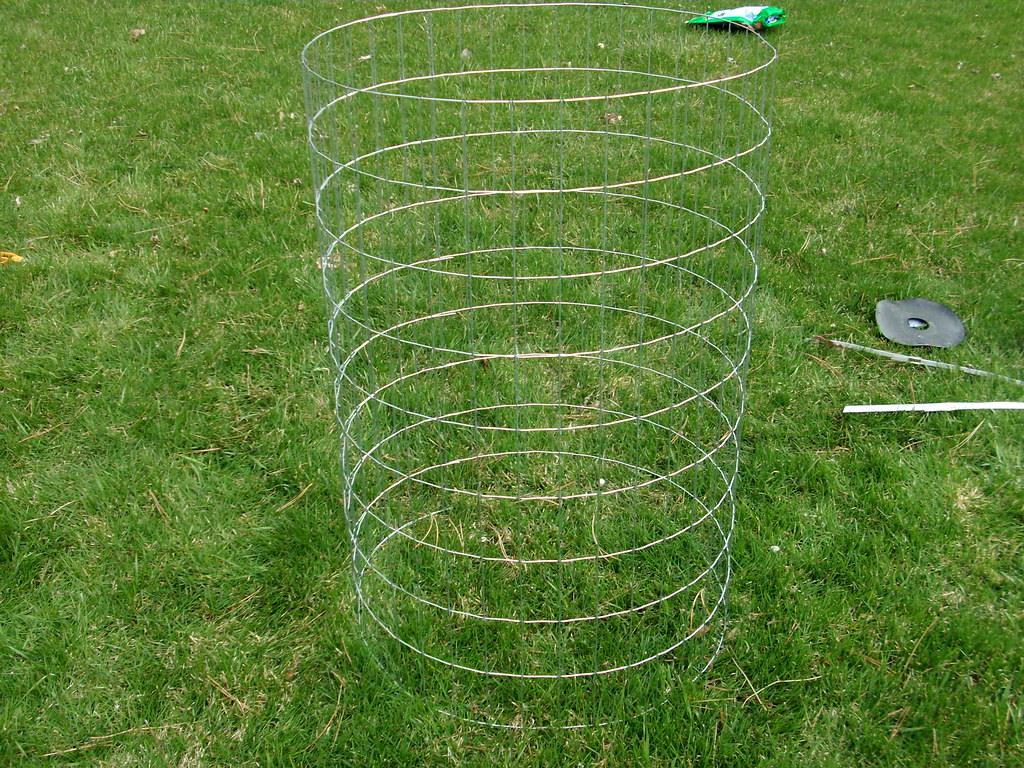
This picture shows the wire cage without plastic yet and one with plastic. I also put
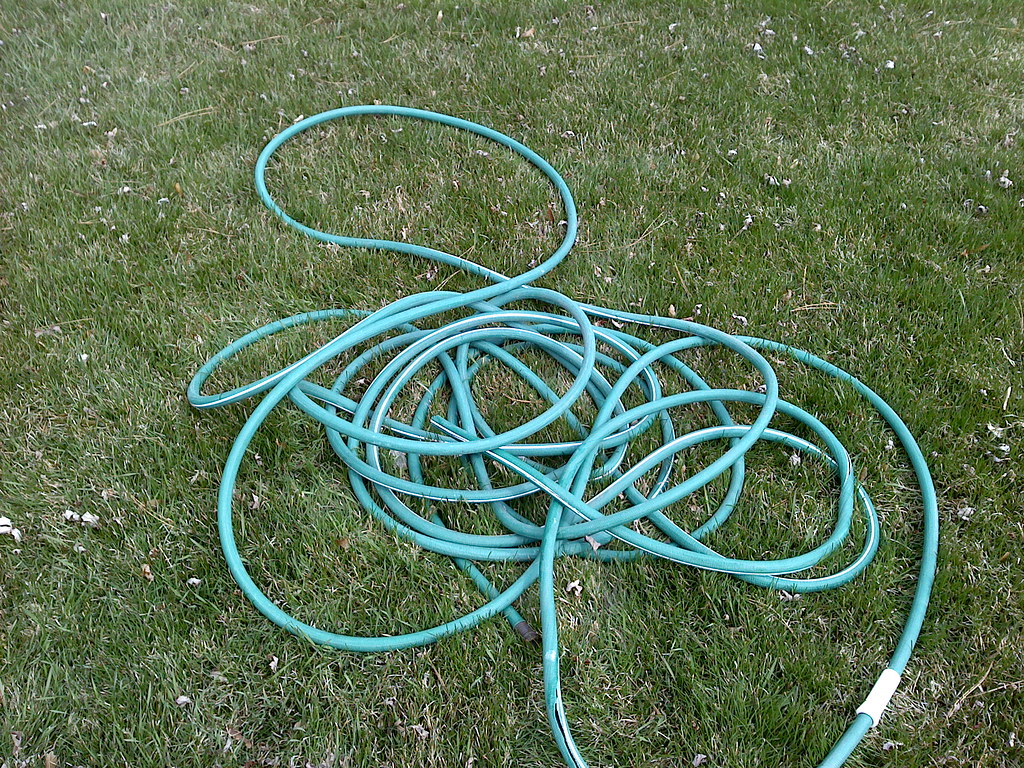
garden hose on the
top edge so the wires on top are not likely to
hurt anyone reaching in for a tomato. I had an old leaky hose so I just cut it up. I just
cut it down the center with tin snips and place it on the
top of the cage.
I bought the fencing from Home Depot. It comes in a sheet that you bend around and connect by wiring it together.
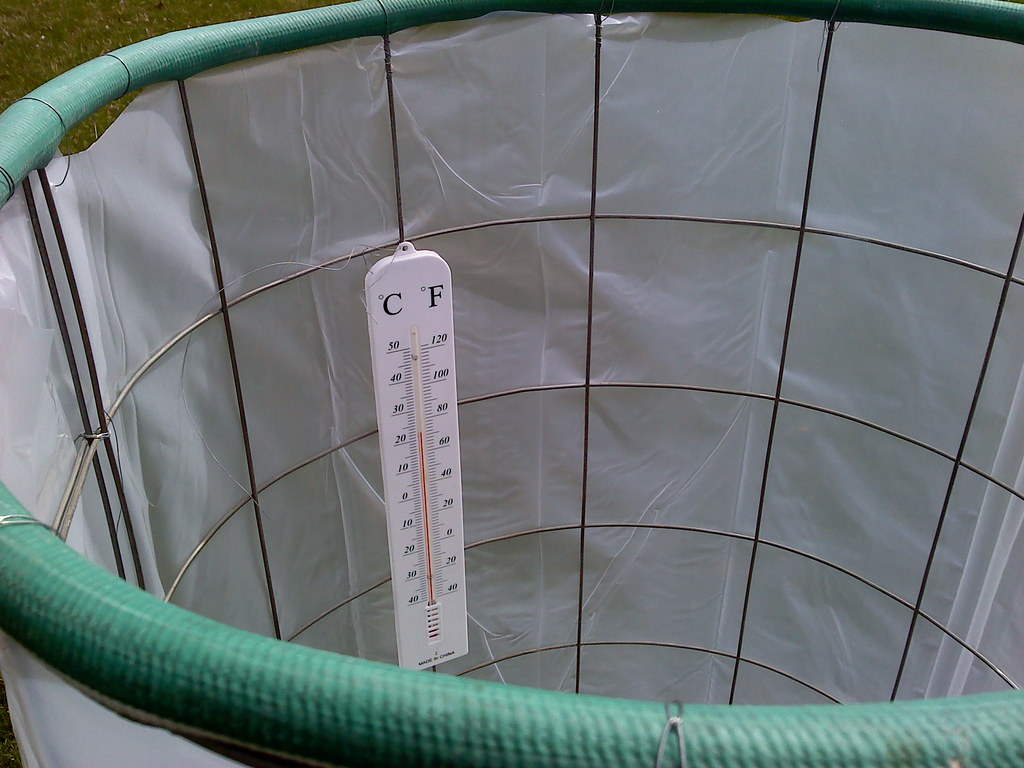
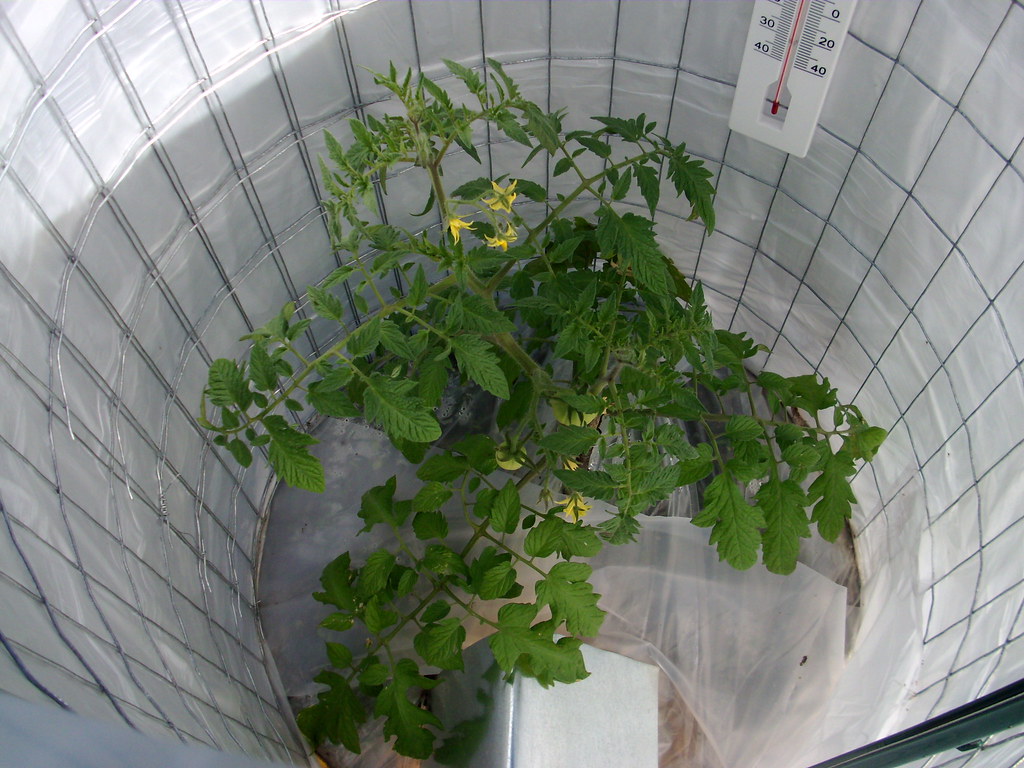
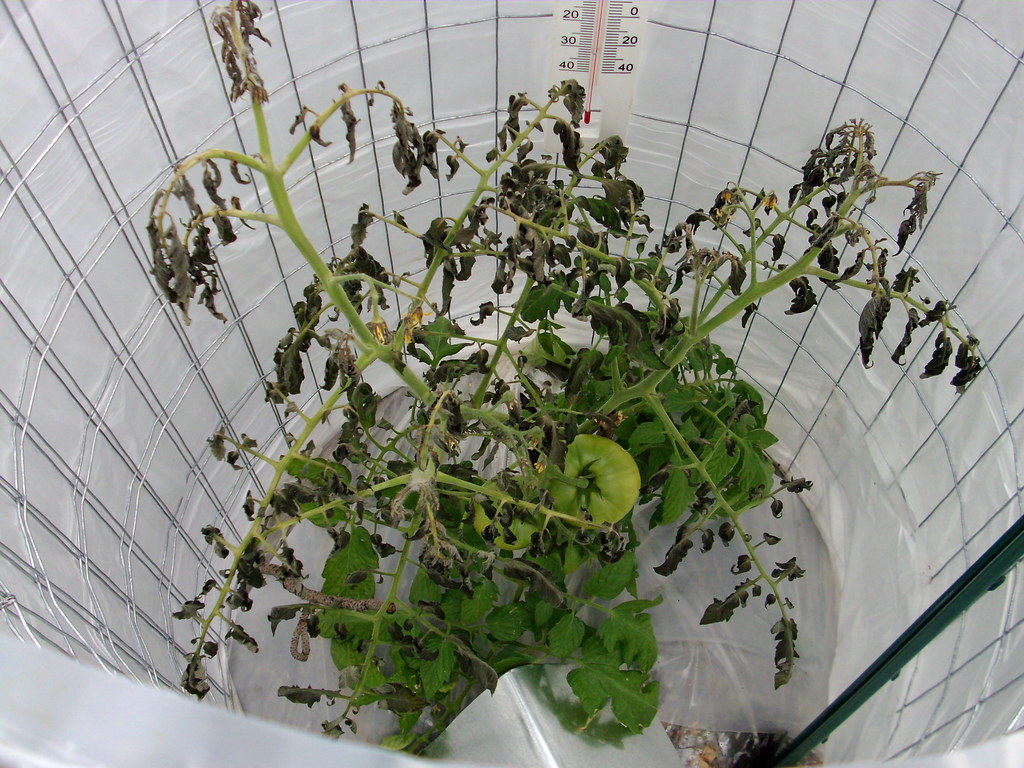
I hang a
thermometer so I can monitor the temperature. I got the thermometers for a dollar at Honks. The temperature shouldn't go below freezing or above 100 degrees. The plastic on top can be taken off in the morning and put back on at night.
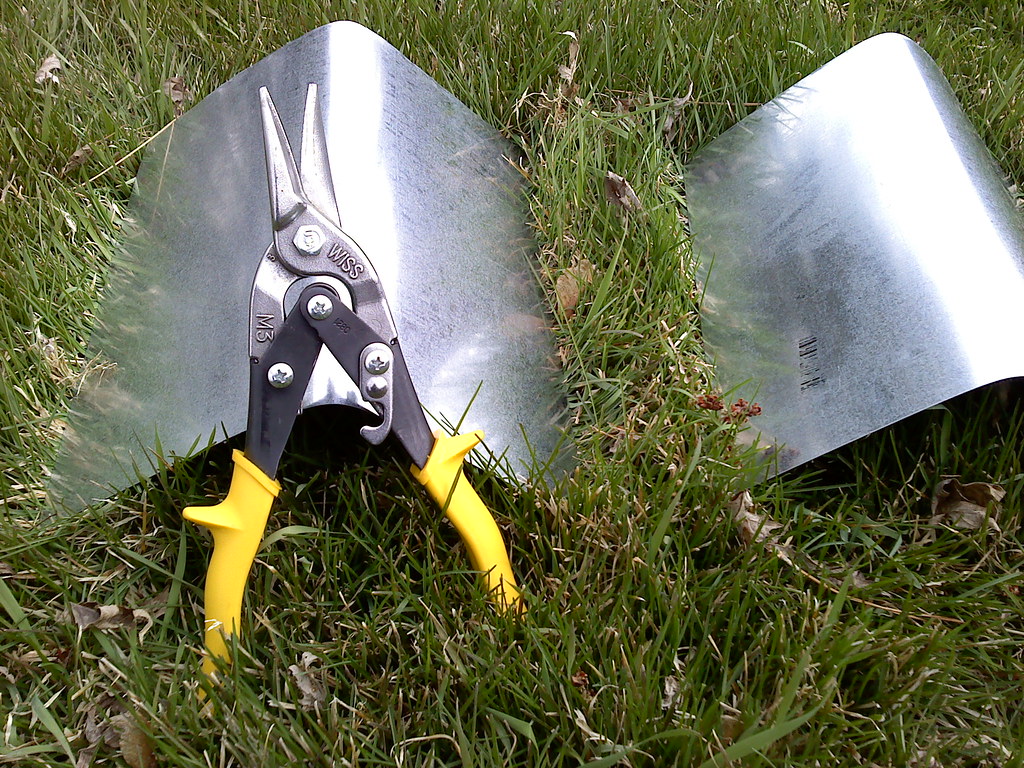
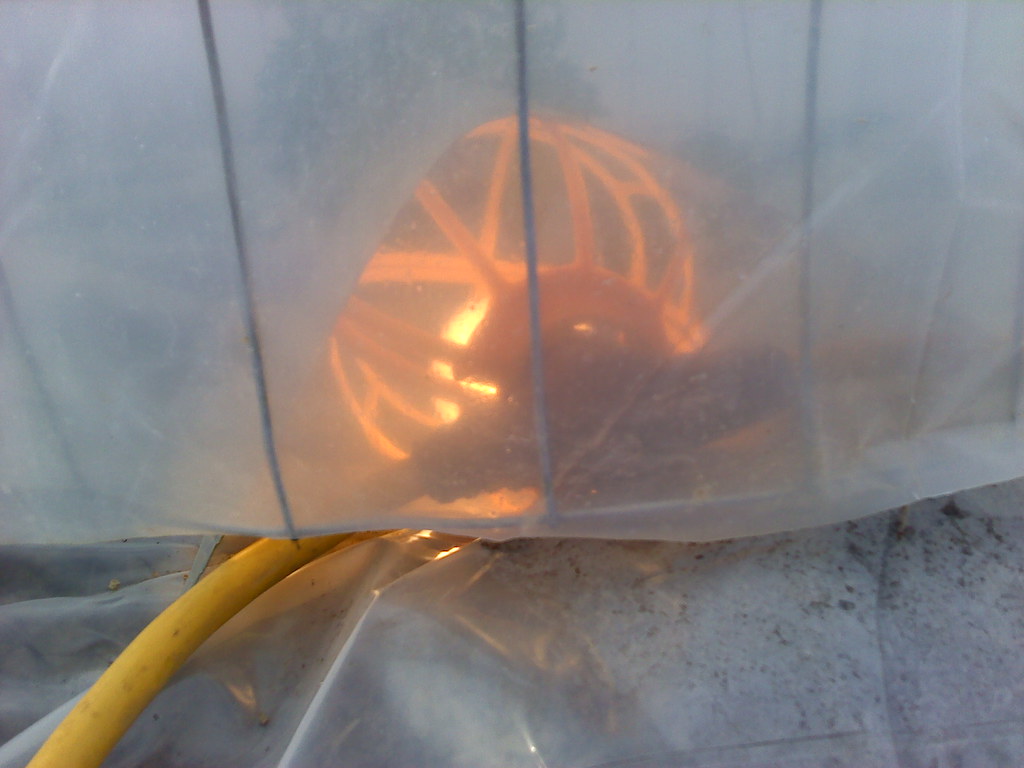
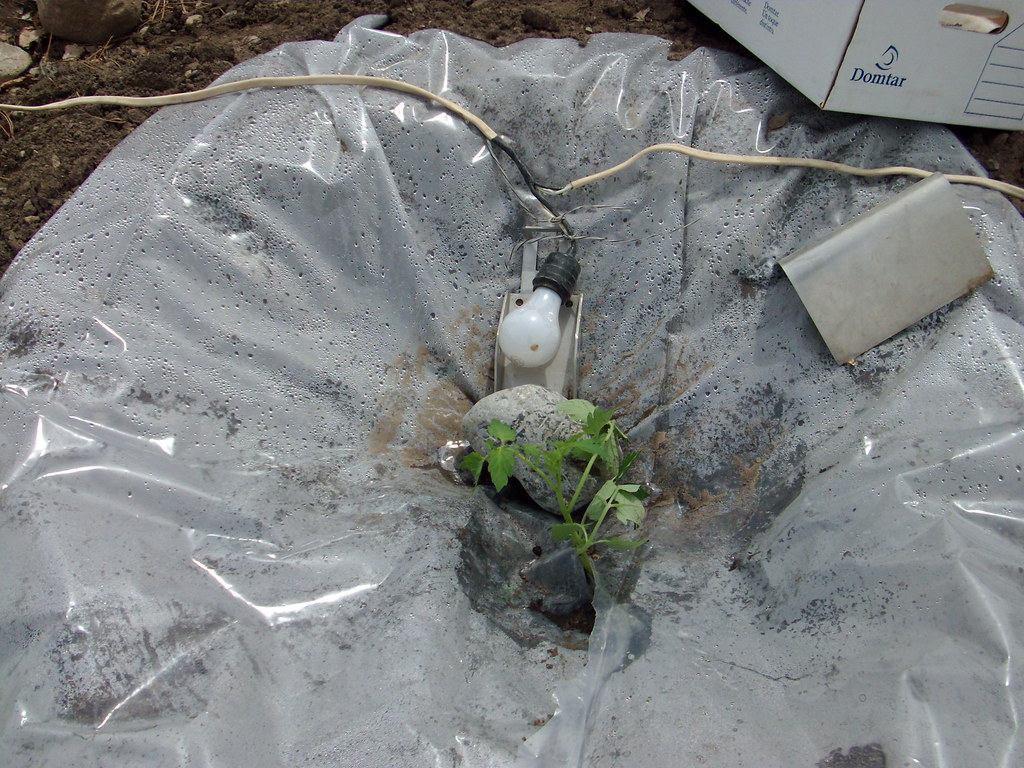
The light bulbs shatter and break if they get moisture on them either from condensation or rain. So I purchased a metal sheet 12" by 24" and used tin snips to cut it into 4 pieces and bent them to be
tent shaped. This goes over the
light bulb so it doesn't
get wet when the lights are on at night.
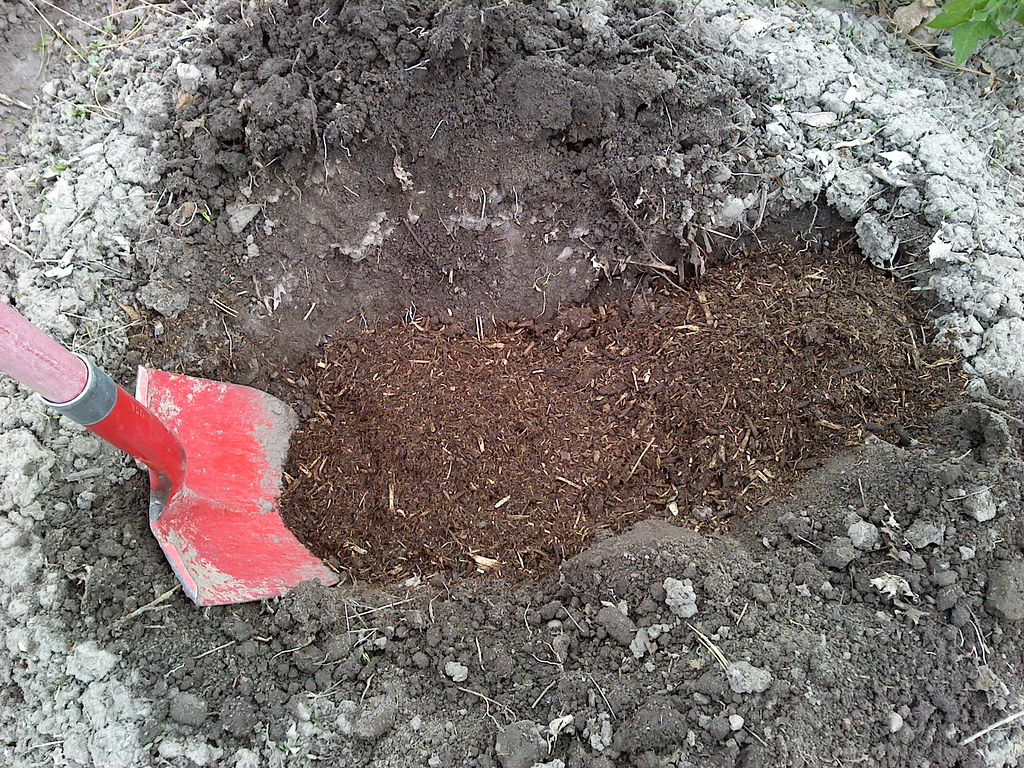
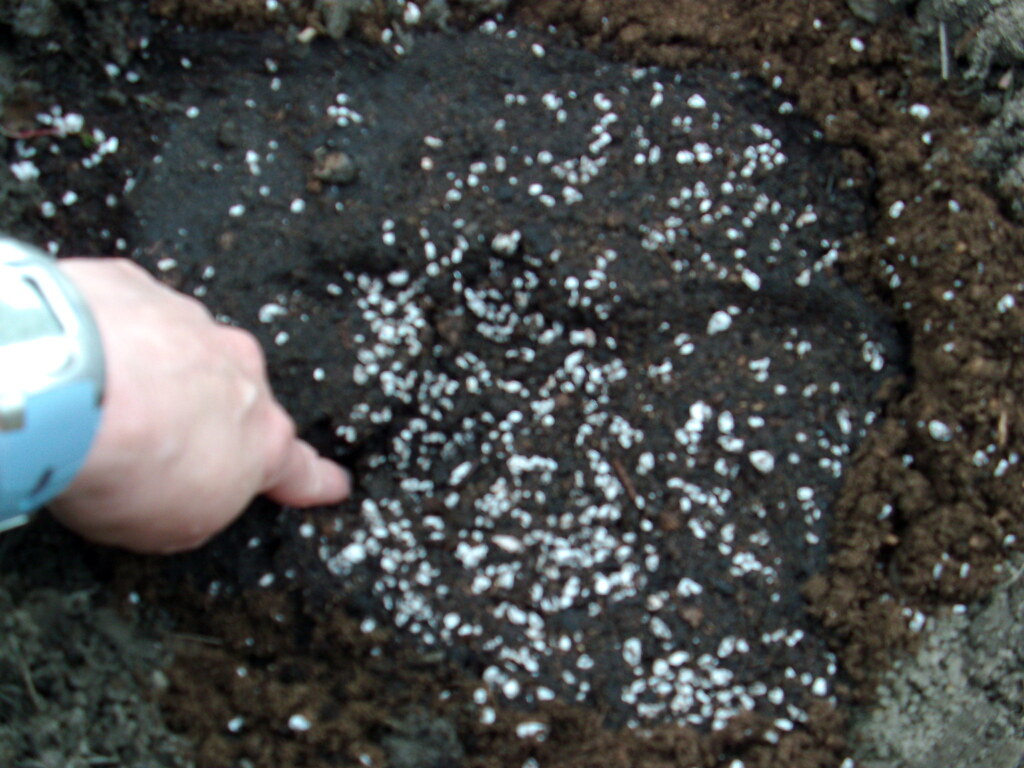
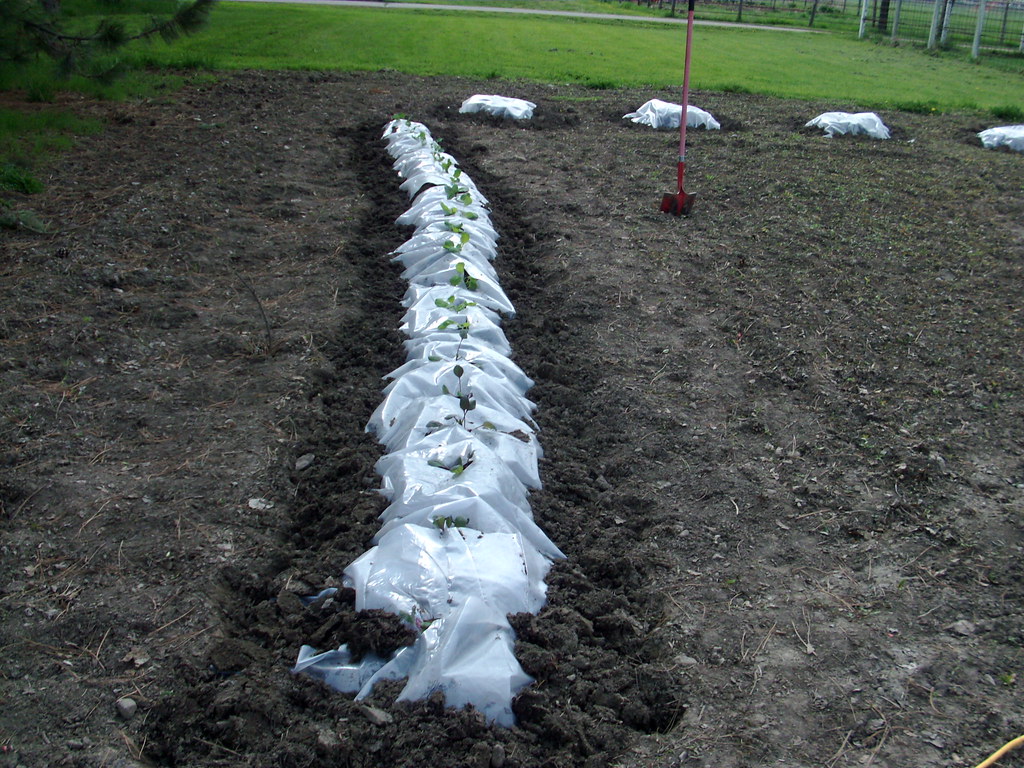
I filled each hole with
potting soil (purchased from Sam's club). The potting soil has miracle grow in it so they ought to grow fast. I then mixed the soil with the dirt in the ground so that what I plant the plants in is 50/50 potting soil and dirt. I put the
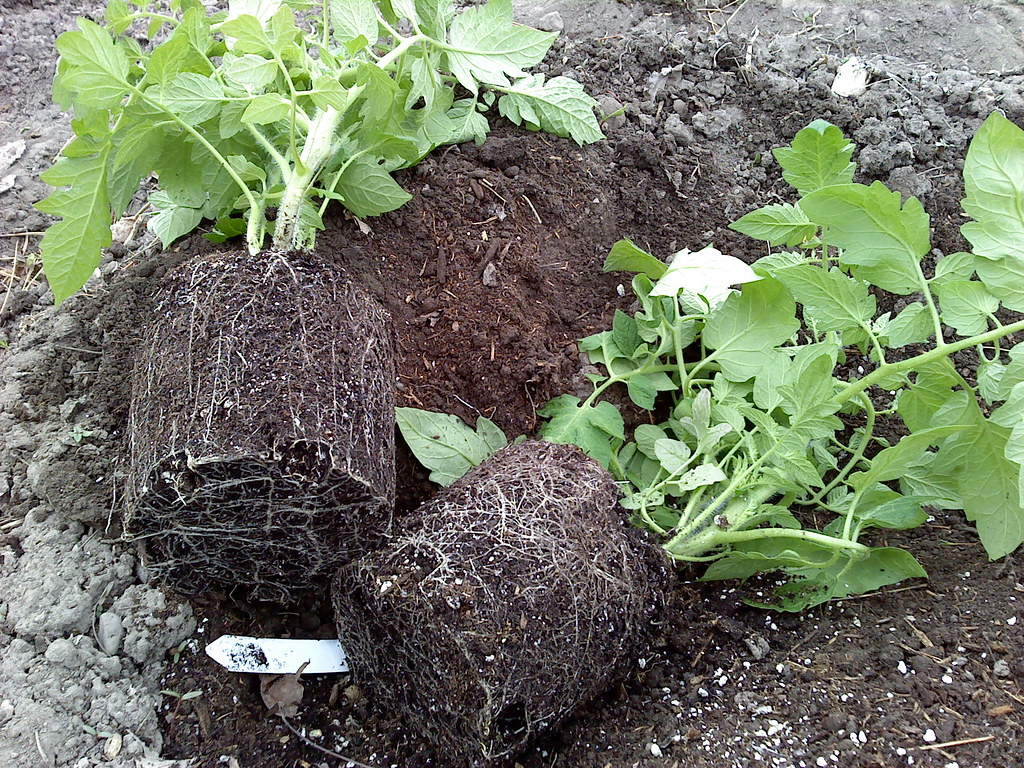
two Roma's together but gave the rest their own cage. I lay them
on their side and snip off the bottom leaves. Here they are
planted. I bury them so that the parts where the leaves were cut off are under the ground. This stimulates more root growth and makes for a bigger, heartier plant. I am excited to see what
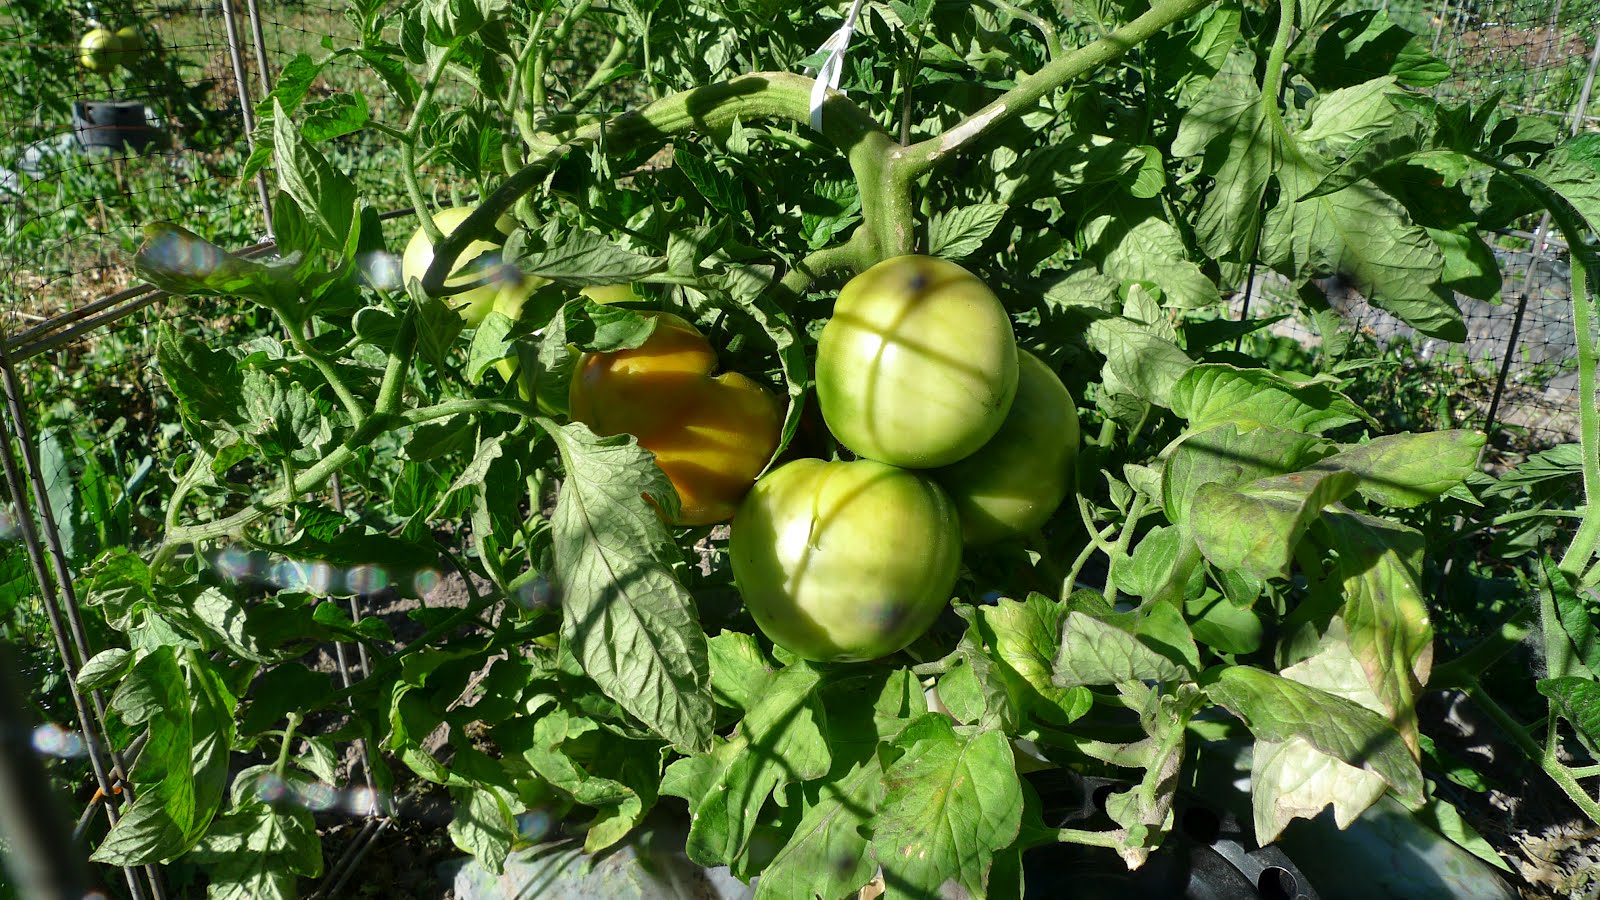
Kellogs Breakfast will turn out like. It is ripe when it turns the color of a Kelloggs cornflake. If it turns red, it is over-ripe. It also looks great in
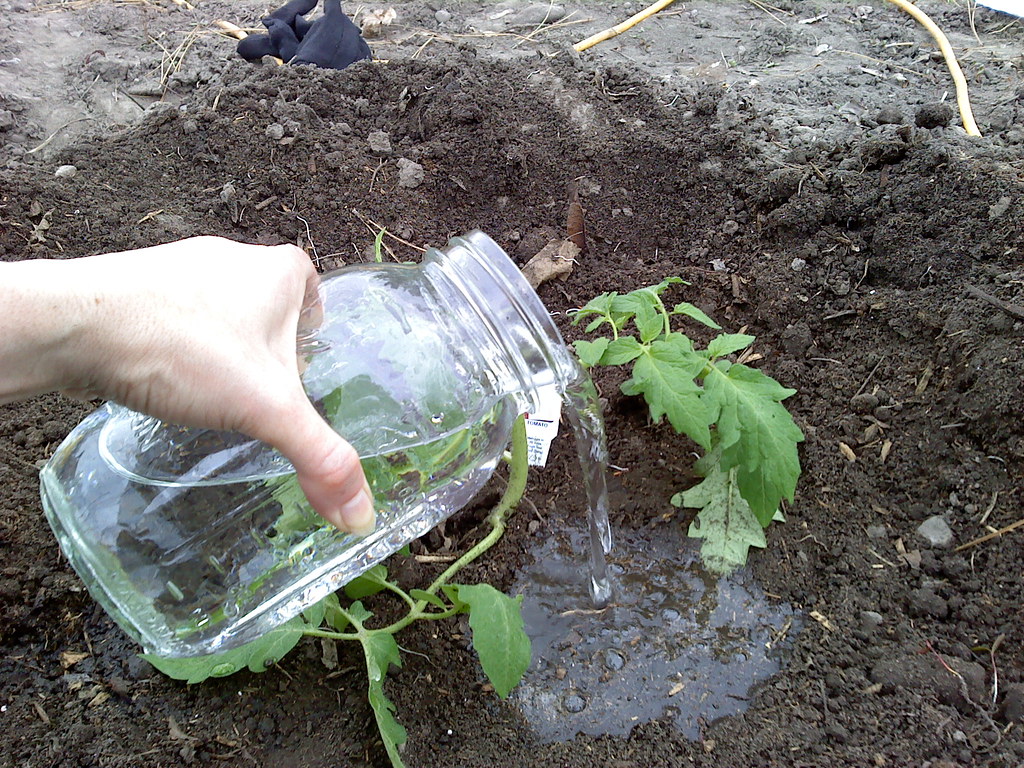
salads mixed with red tomatoes for added color. Verlin Simmons had suggested to water them with
2 quarts of water when they are planted, and then no watering until May. The plastic keeps the moisture in the soil. He told me this year he didn't even give them any water. But I figure since I put in dry potting soil, it needed some water. Verlin said that the biggest mistake people make is to over-water. The
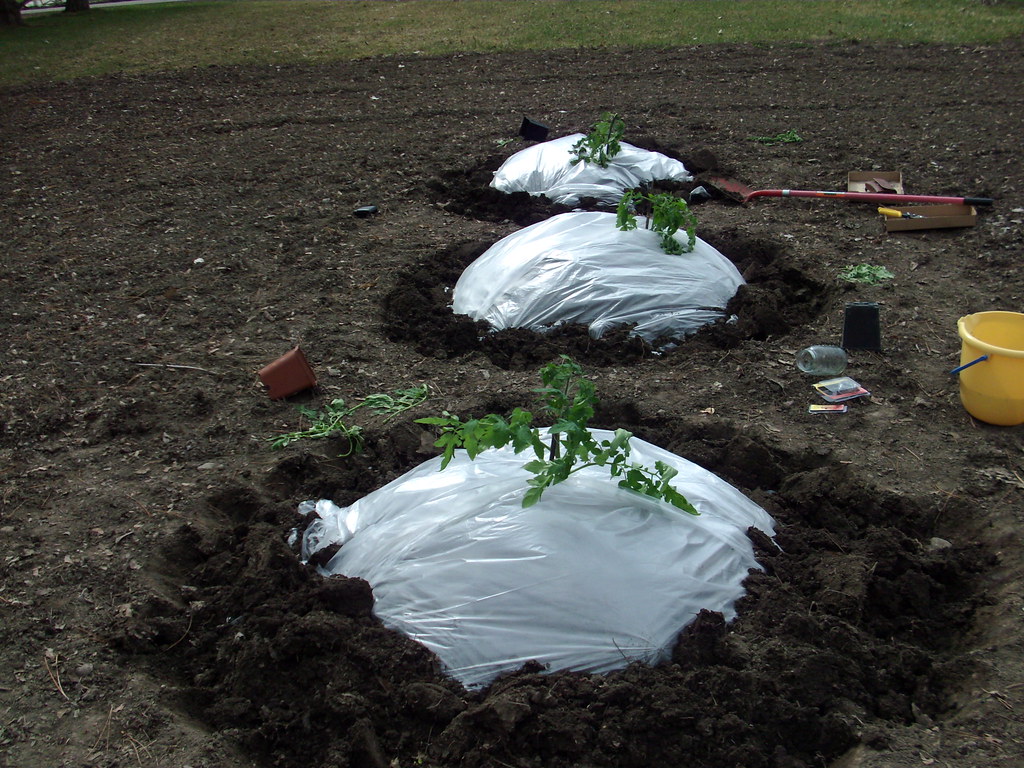
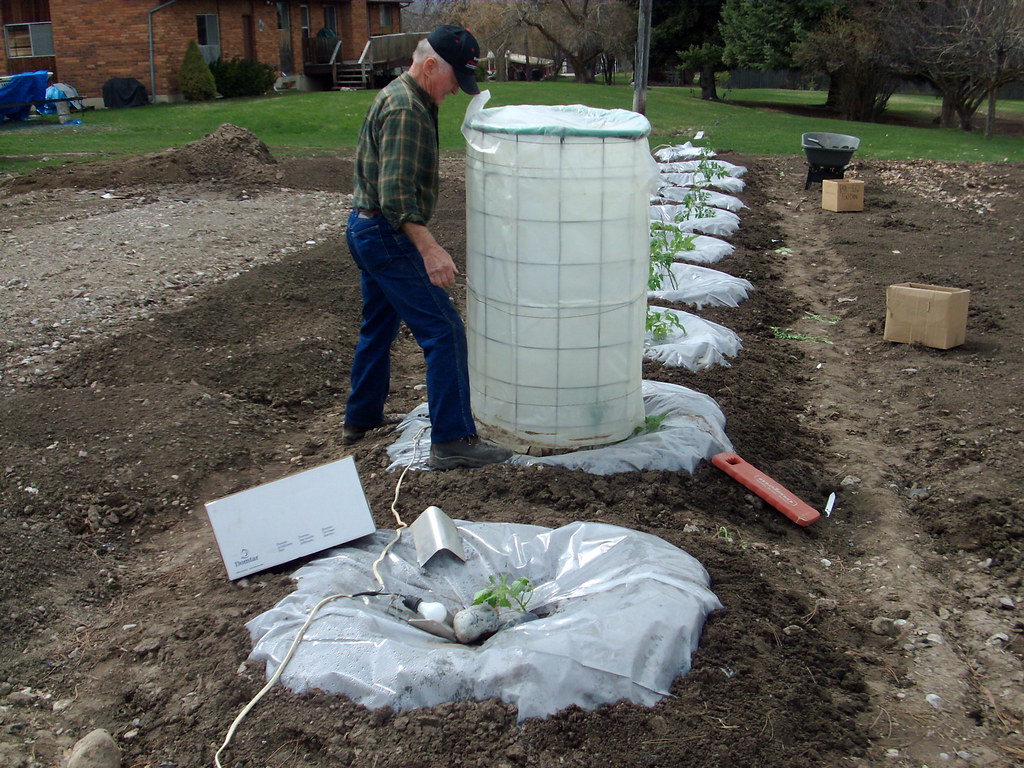
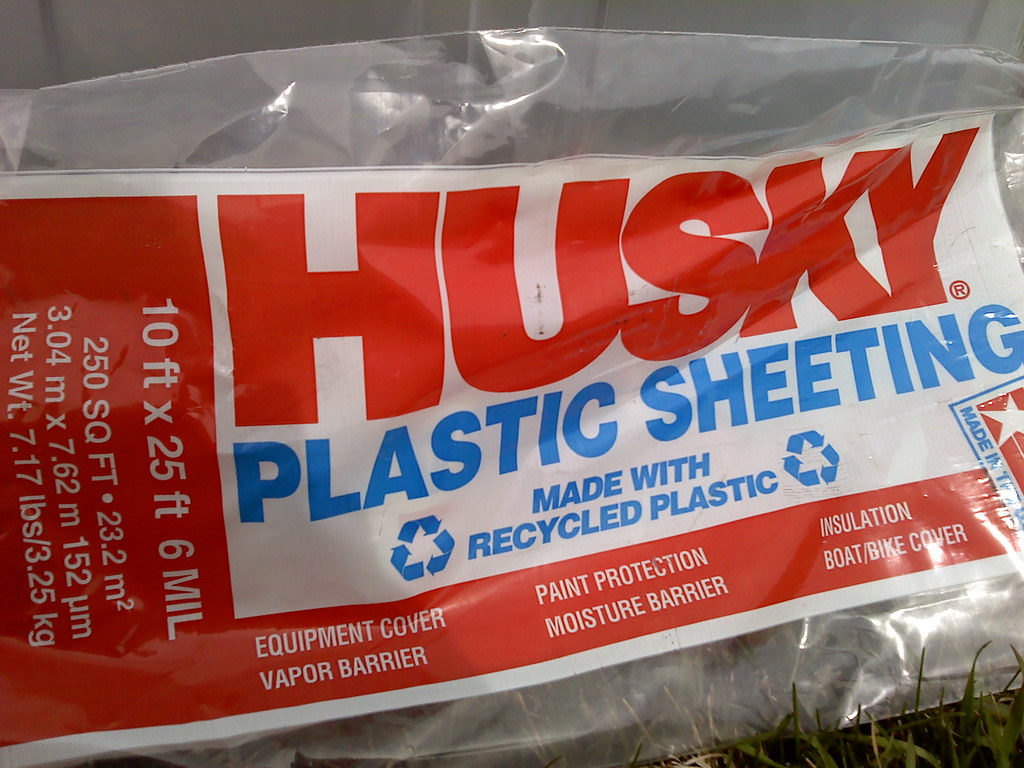
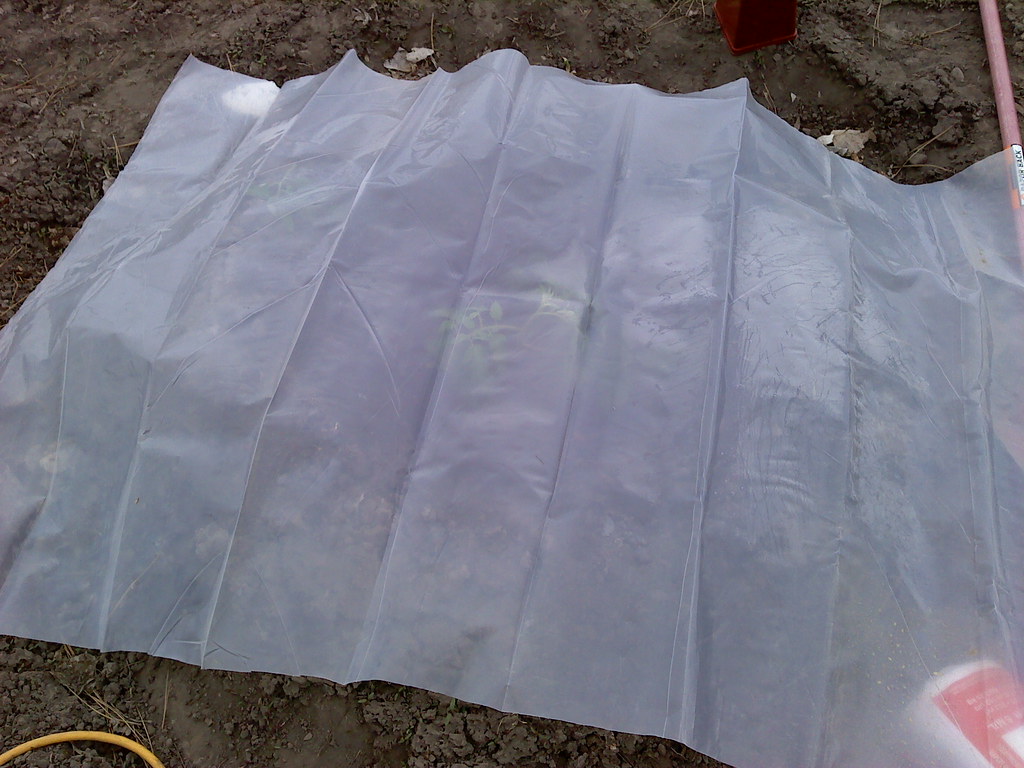
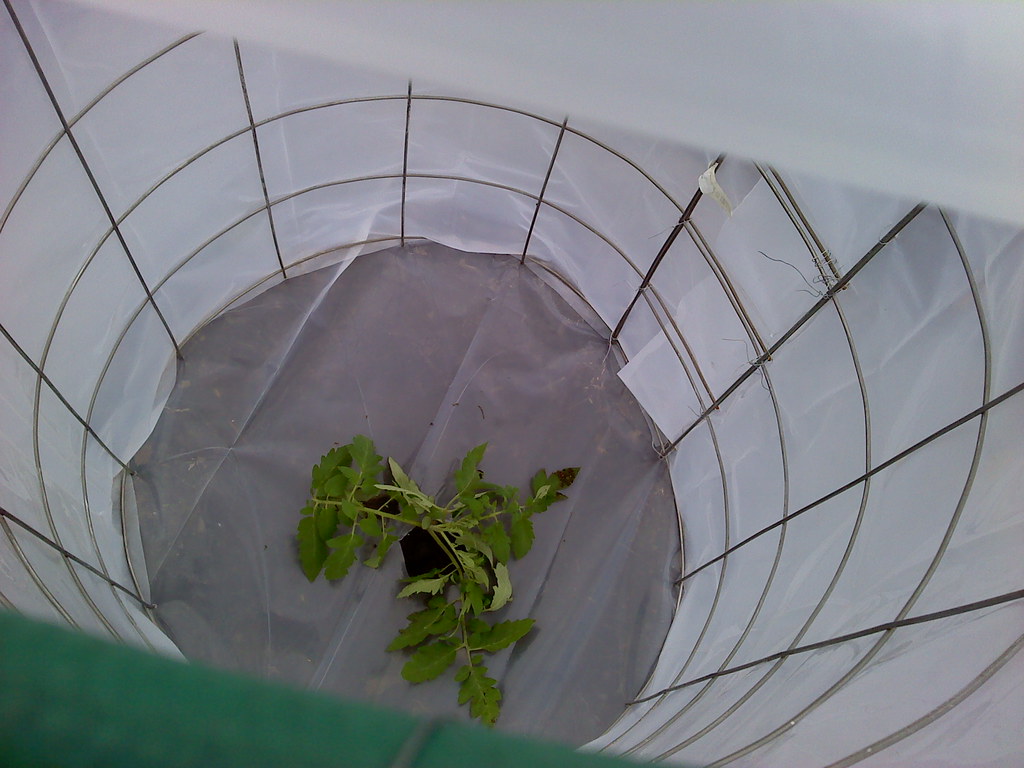
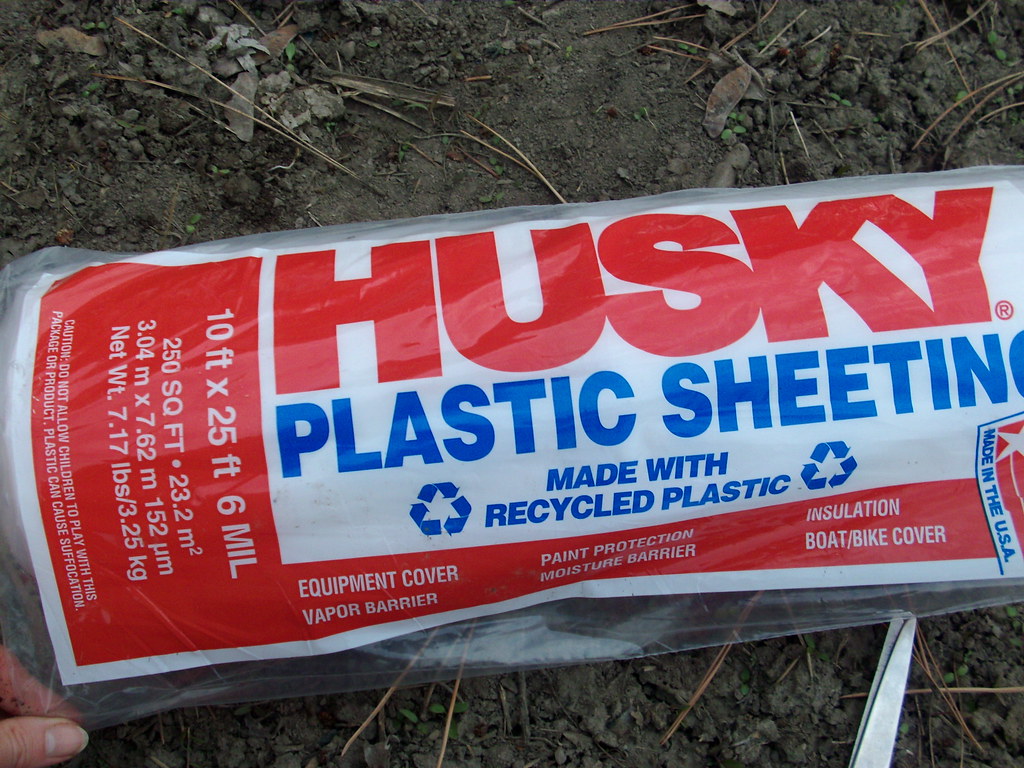
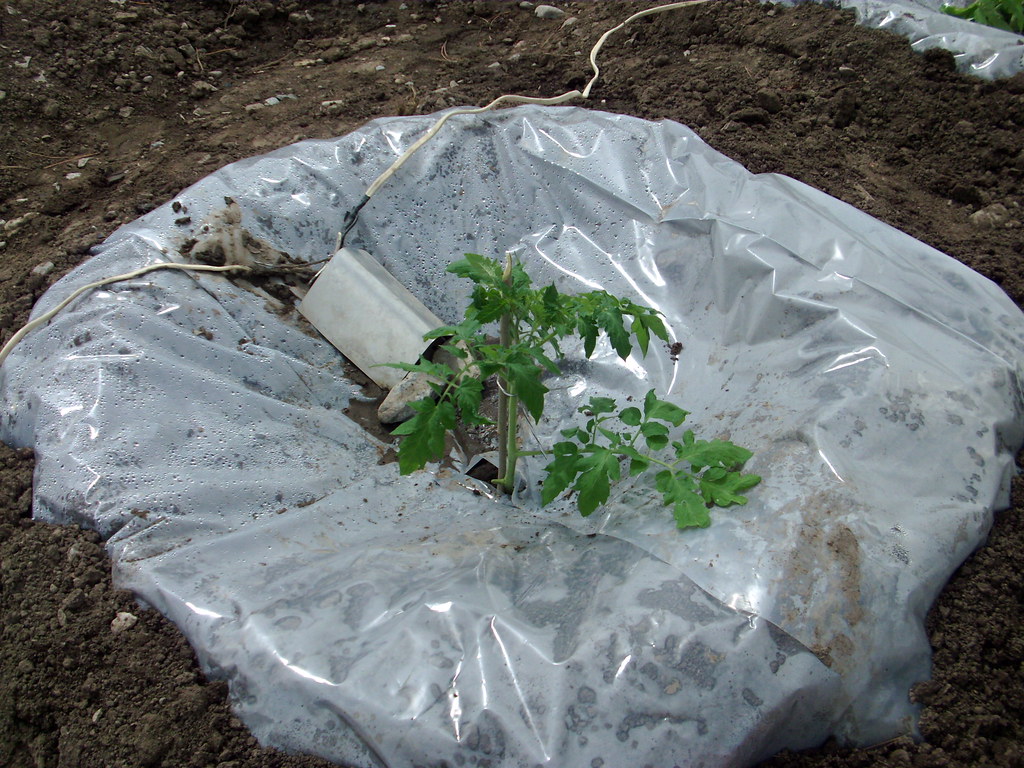
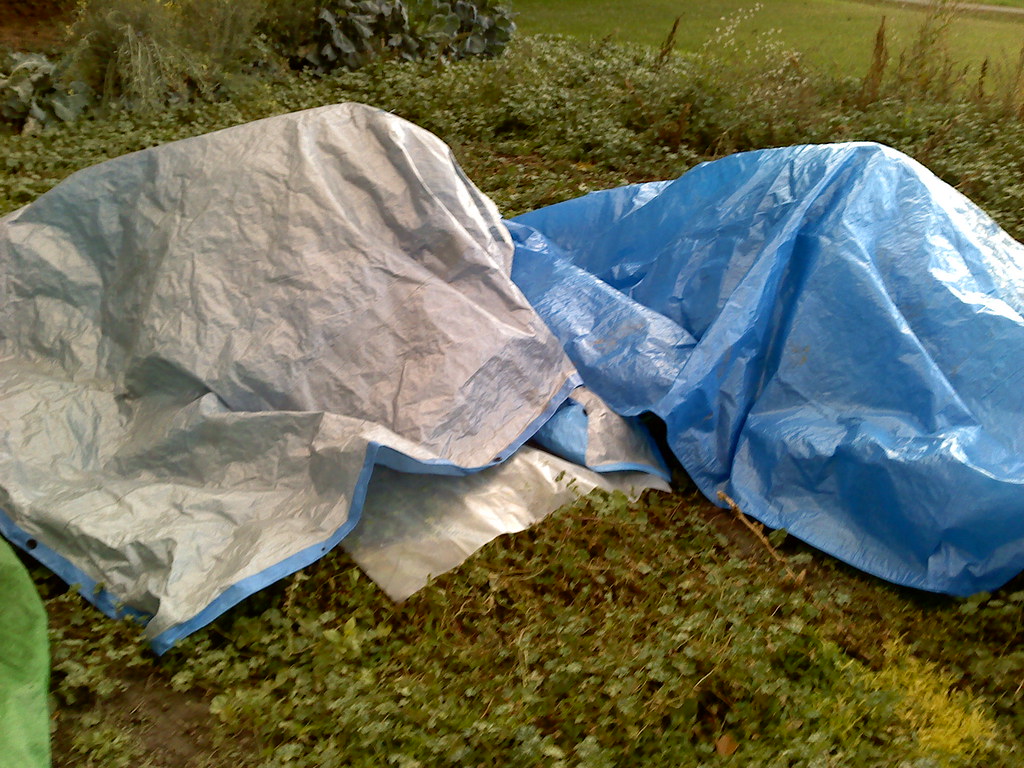
plastic I purchased was from Home Depot. 6 mil, 10' by 25' to cover the cages. I also put
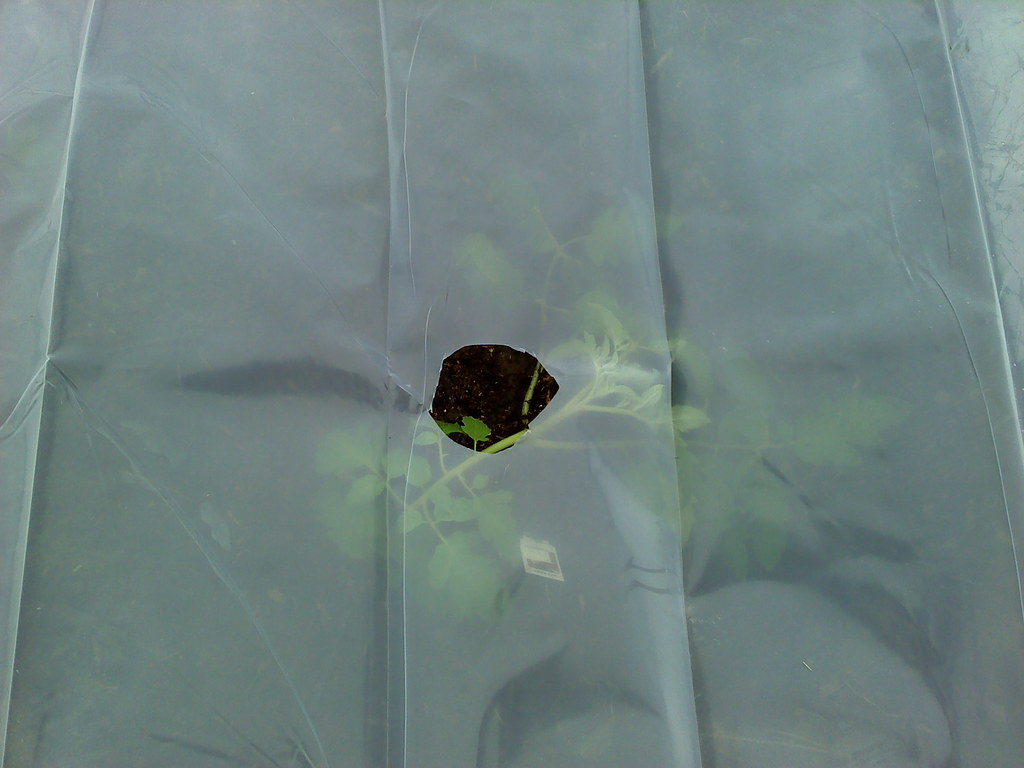
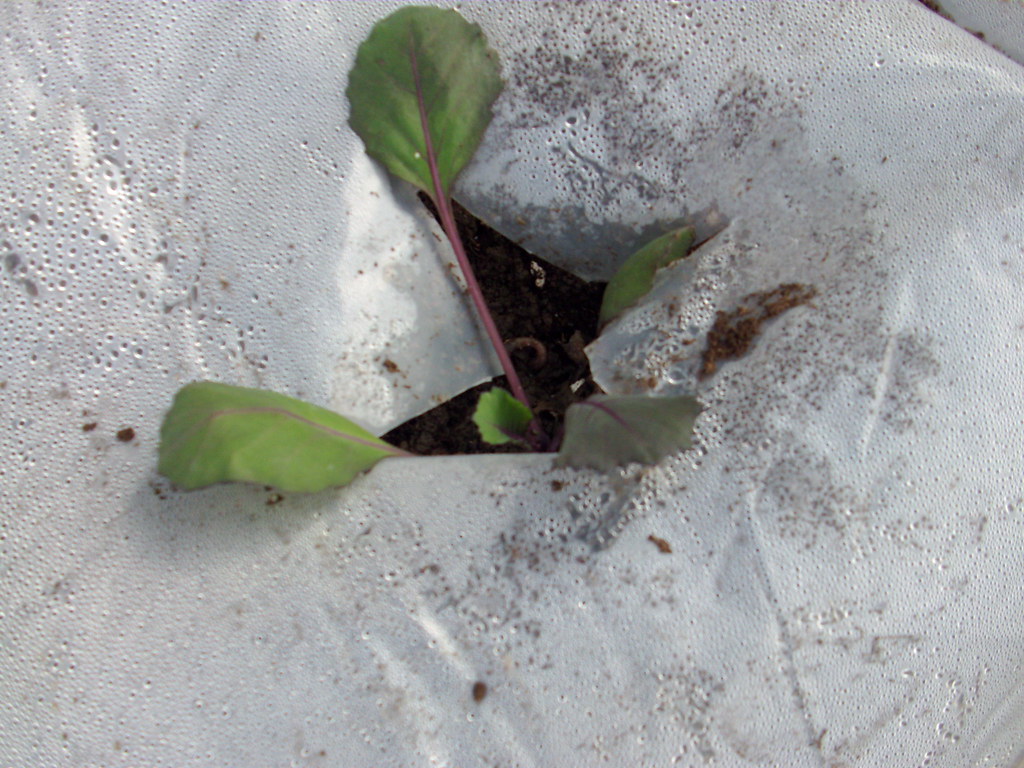
plastic over the tomato plant. I
cut a hole in the middle. But later I realized I could have cut an X. I tenderly
pulled the tomato plant through the hole. Next the
cage goes on top. I haven't done it yet, but Verlin has the plastic
covered with dirt on the edges. Here is a picture of his.
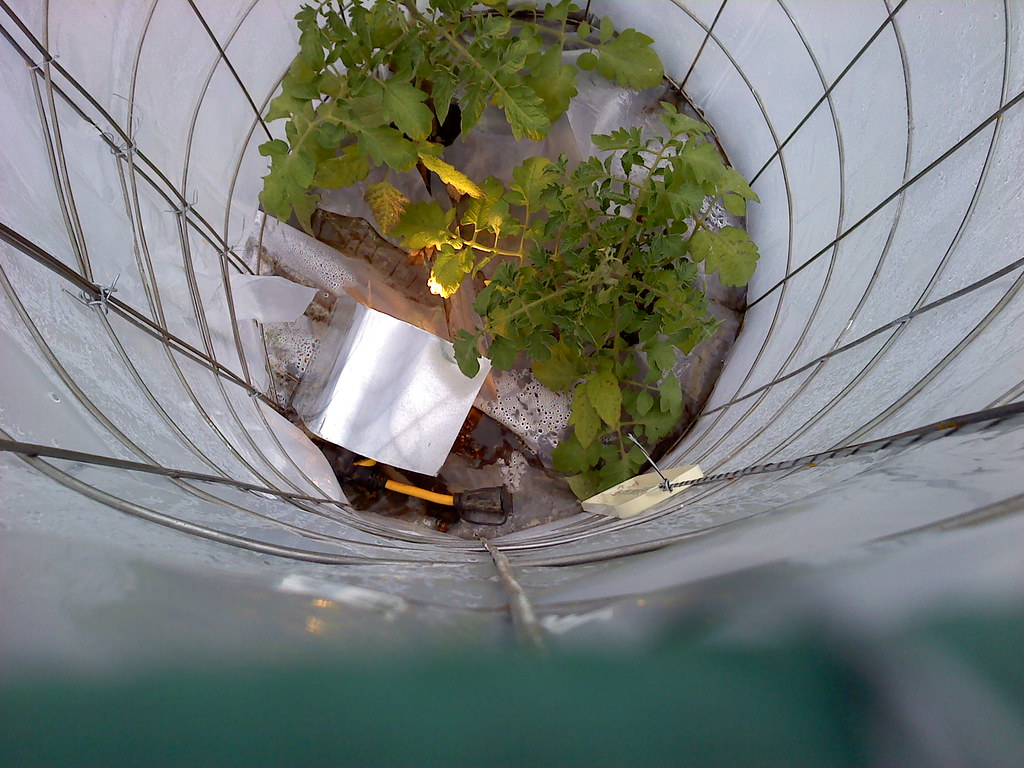
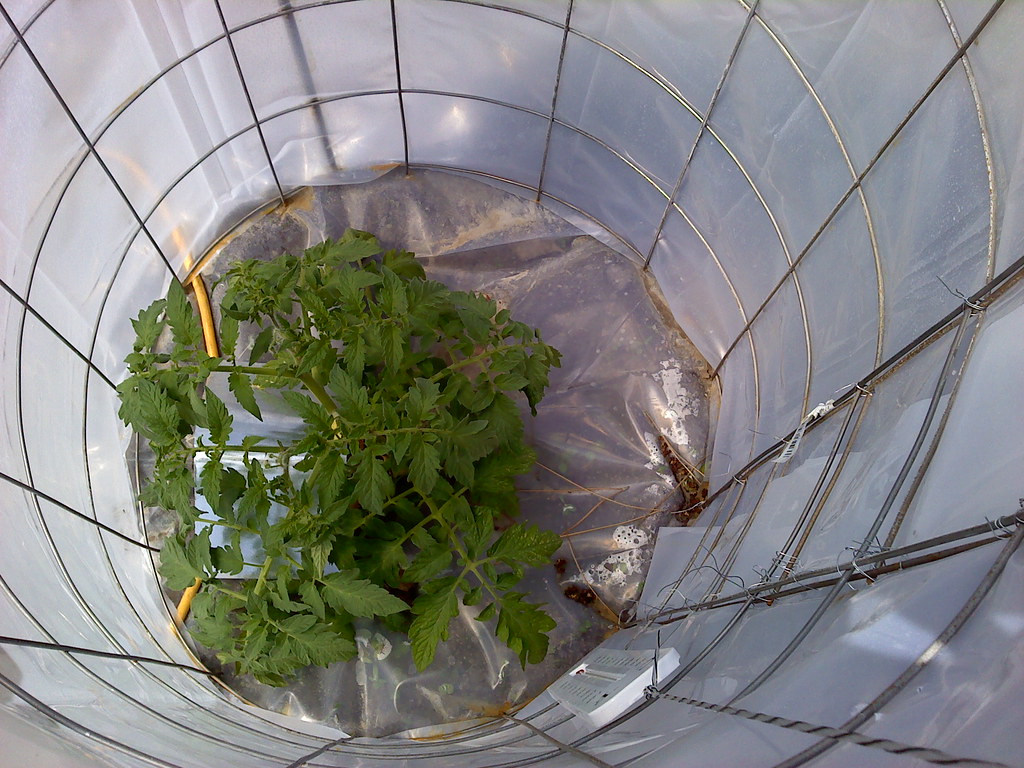
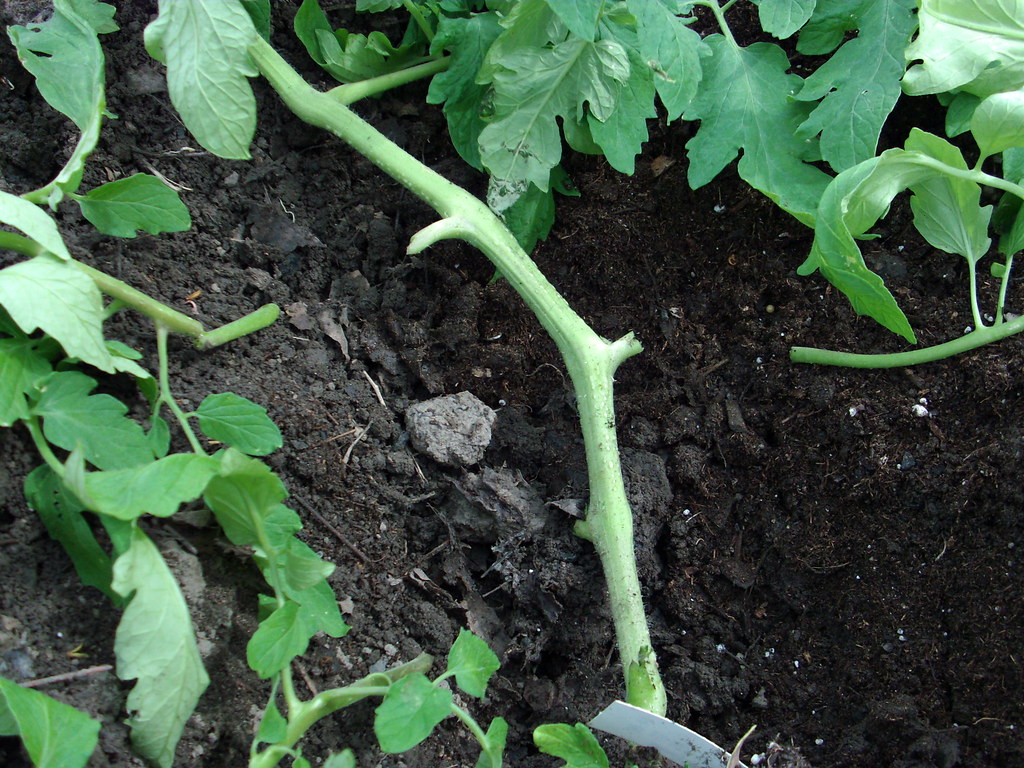
This is one of my
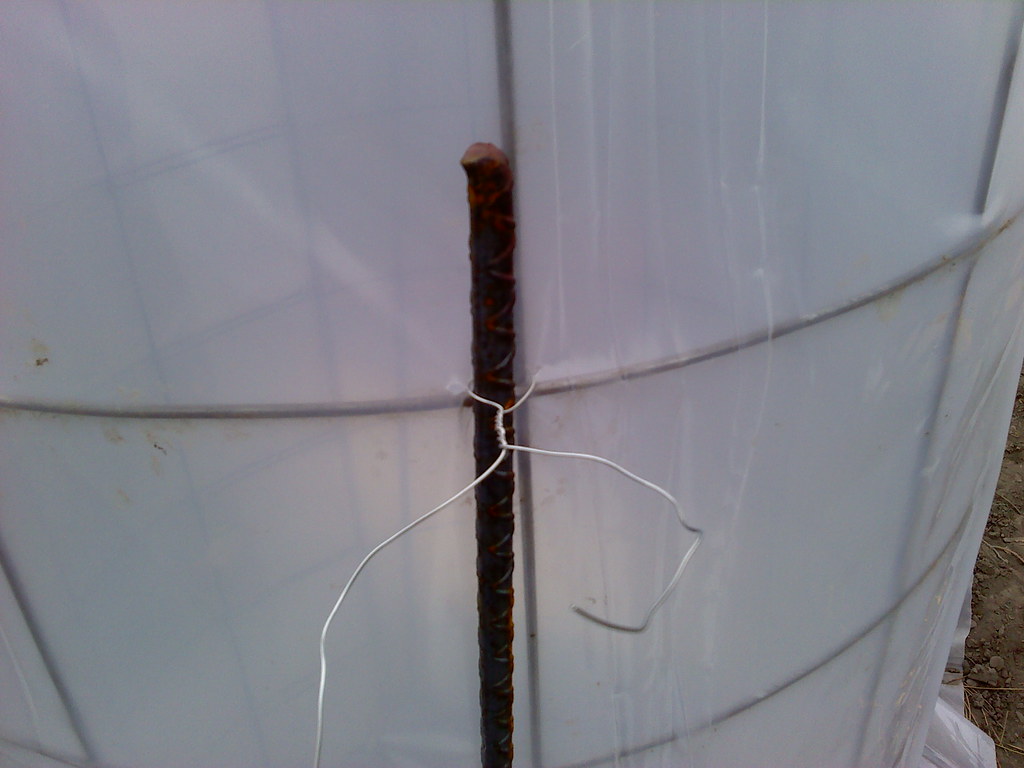
Big Beef tomato plants from inside the cage. I also hammered in some
rebar next to each cage and wired it to the cage so my cages don't blow away (although the winds this past week did blow some over. Michael pounded them back in deeper).
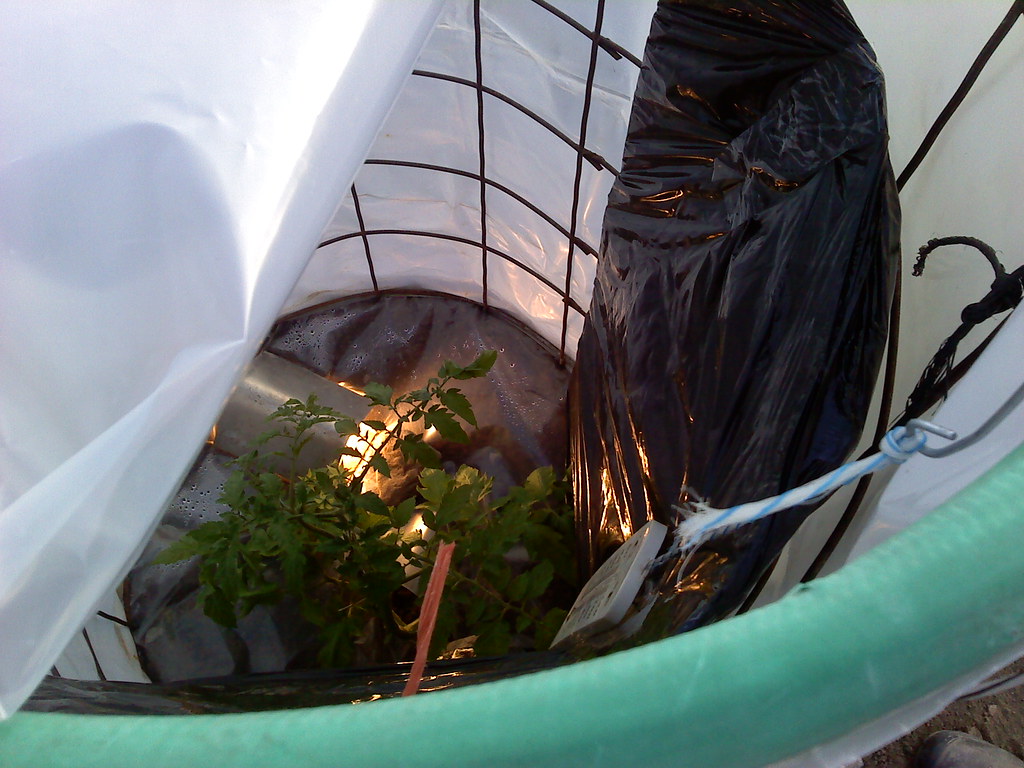
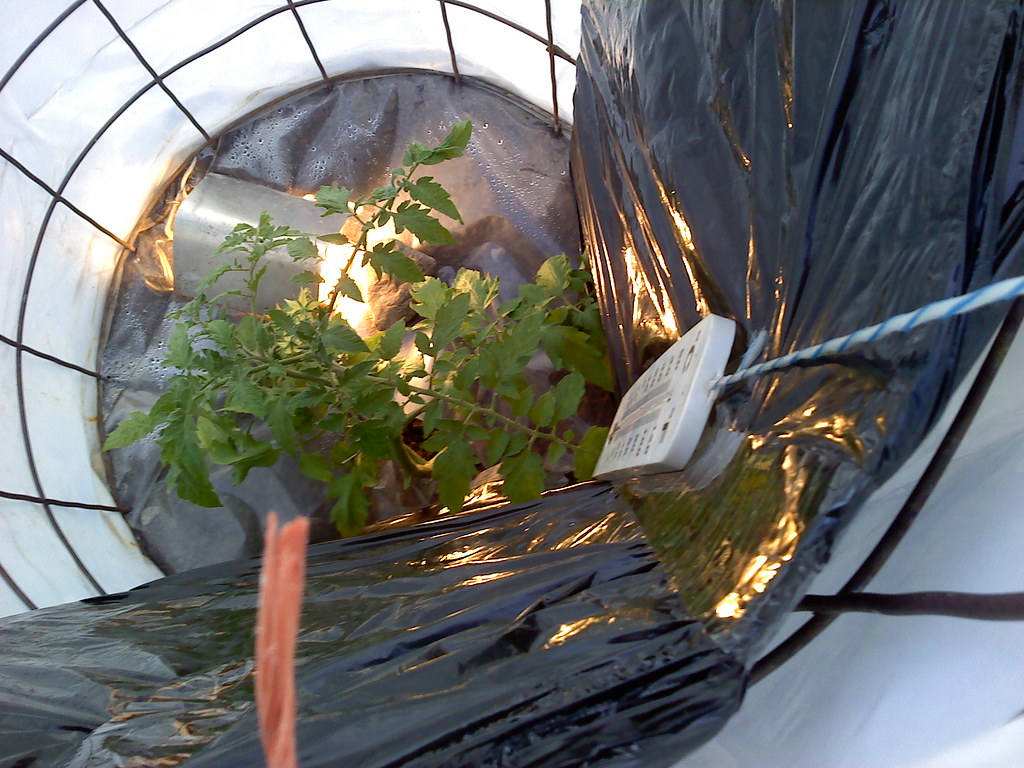
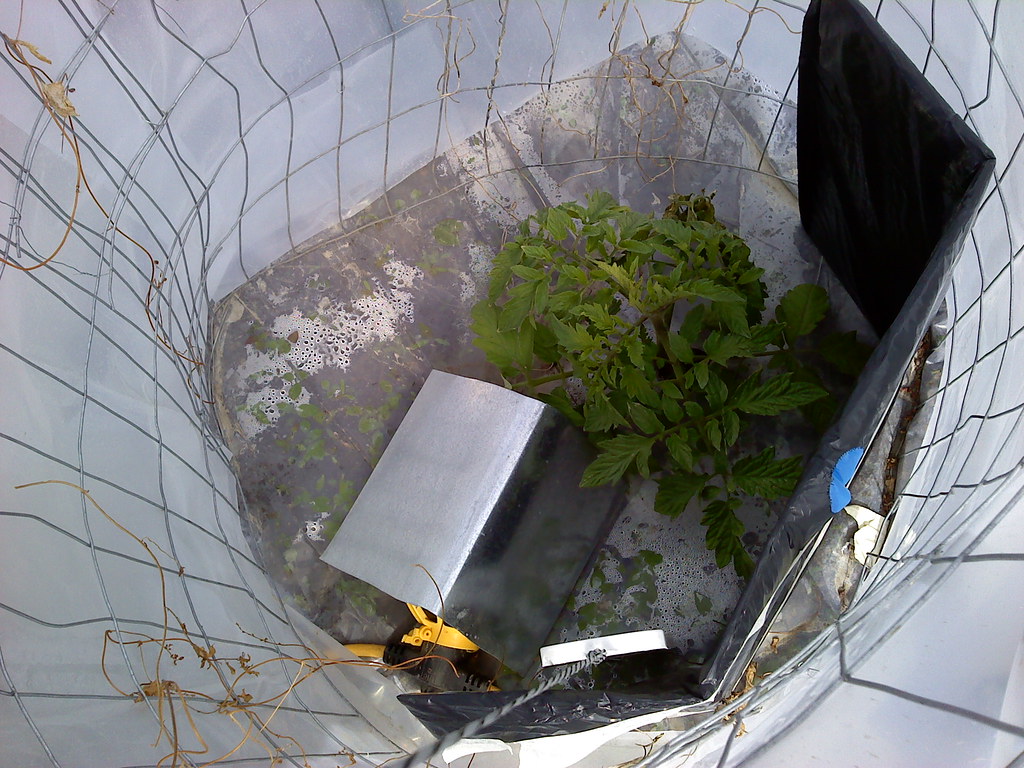
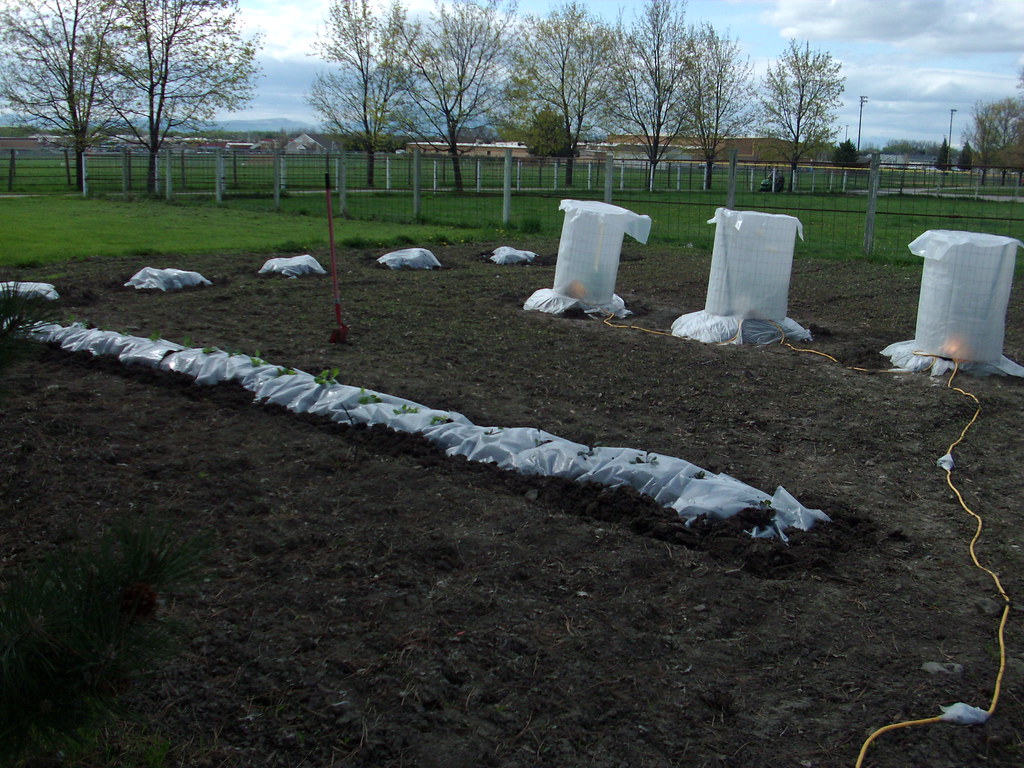
I went and visited Verlin and he showed me this year he put
black plastic in some of his cages. it makes those cages much warmer. He put a large garbage bag over a sheet of cardboard. It is just on the inside of
one side of the cage. The tops of the cages stay on with a
rope tied in a slip knot.
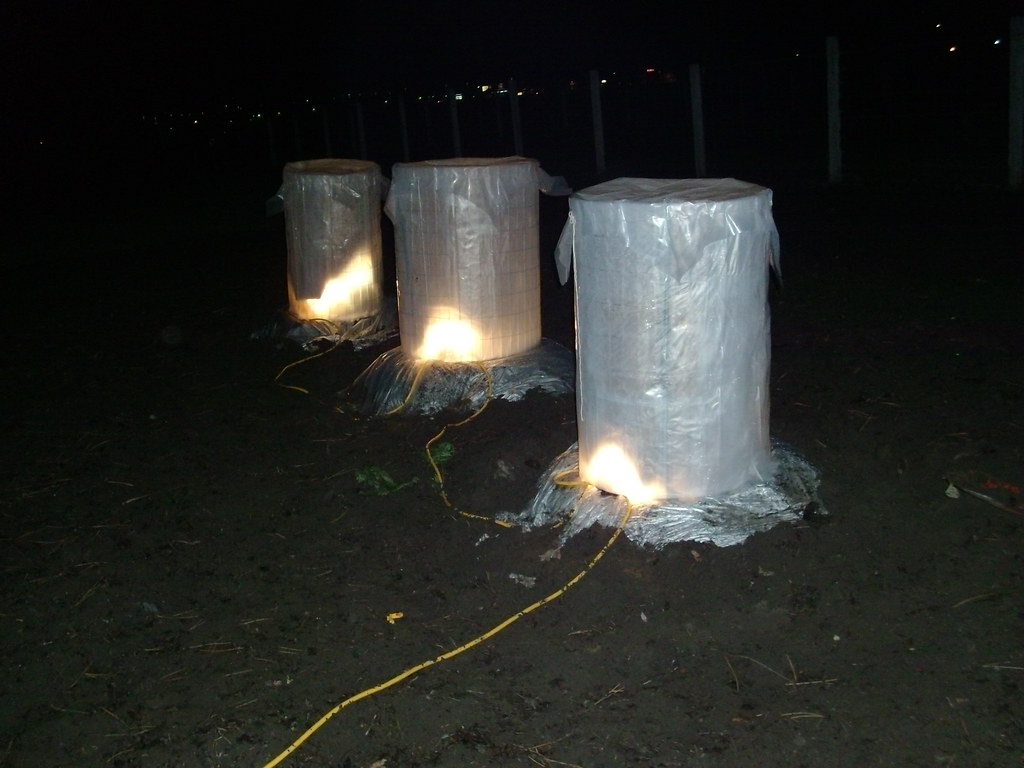
Hopefully having the
cages lit up at night does not keep the neighbors awake. These lights are on a timer to turn on at 7:00 PM and turn off at 8:00 AM. Last year we ate our first ripe tomato on June 7th.
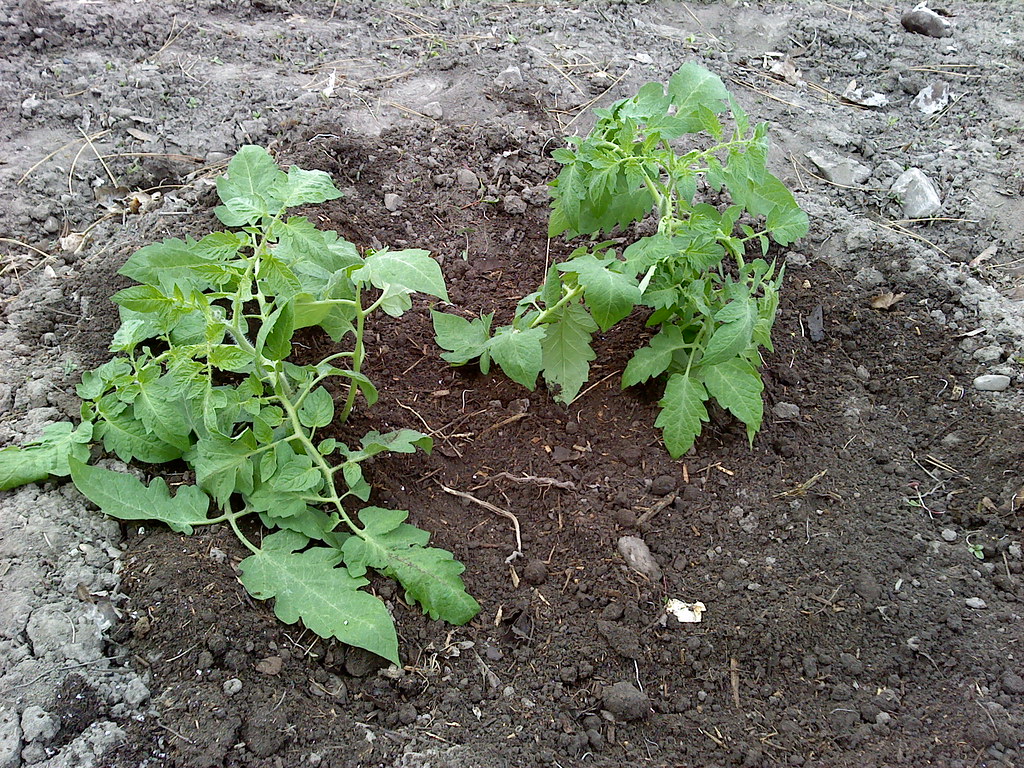
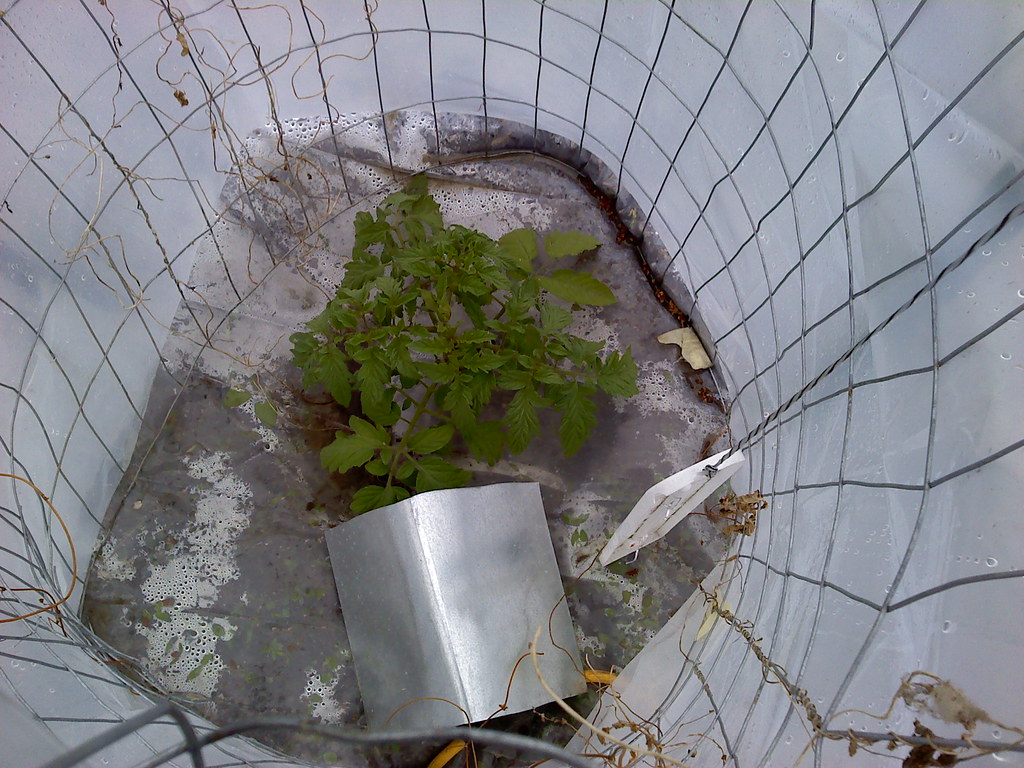
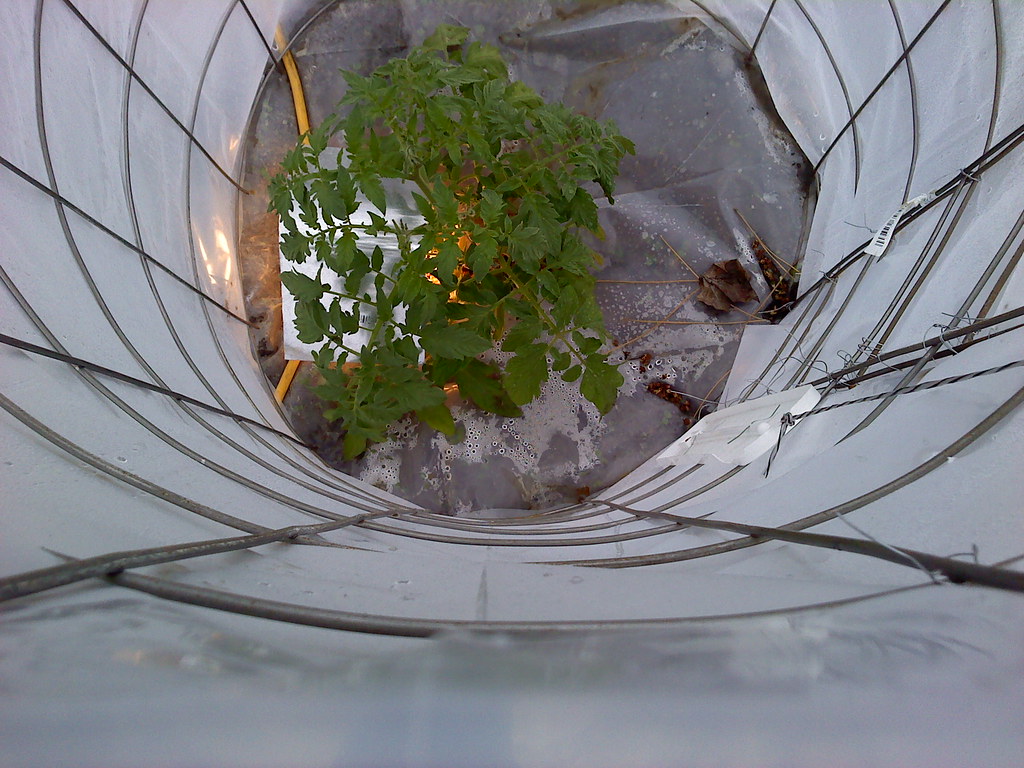
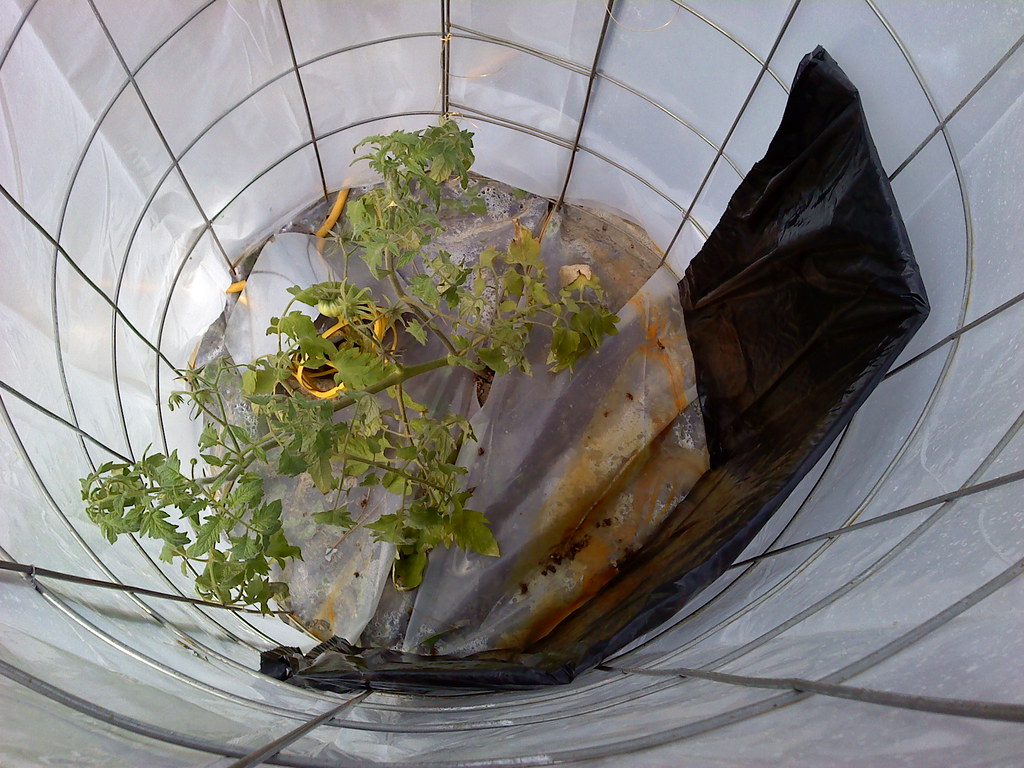
Update on May 1st: After snow, terrible winds, power outages, and freezing weather for two weeks, I came home from sunny Arizona to find the tomato plants are still alive, although the Kelloggs Breakfast is slightly yellow. Here are the
two Romas as of May first. Here is
Kellogg's Breakfast. Here is one
Big Beef in a cage made last year and here is
another one in a cage made last year. Here is the
Big Beef that gets a cage built new this year. This one is doing the best.
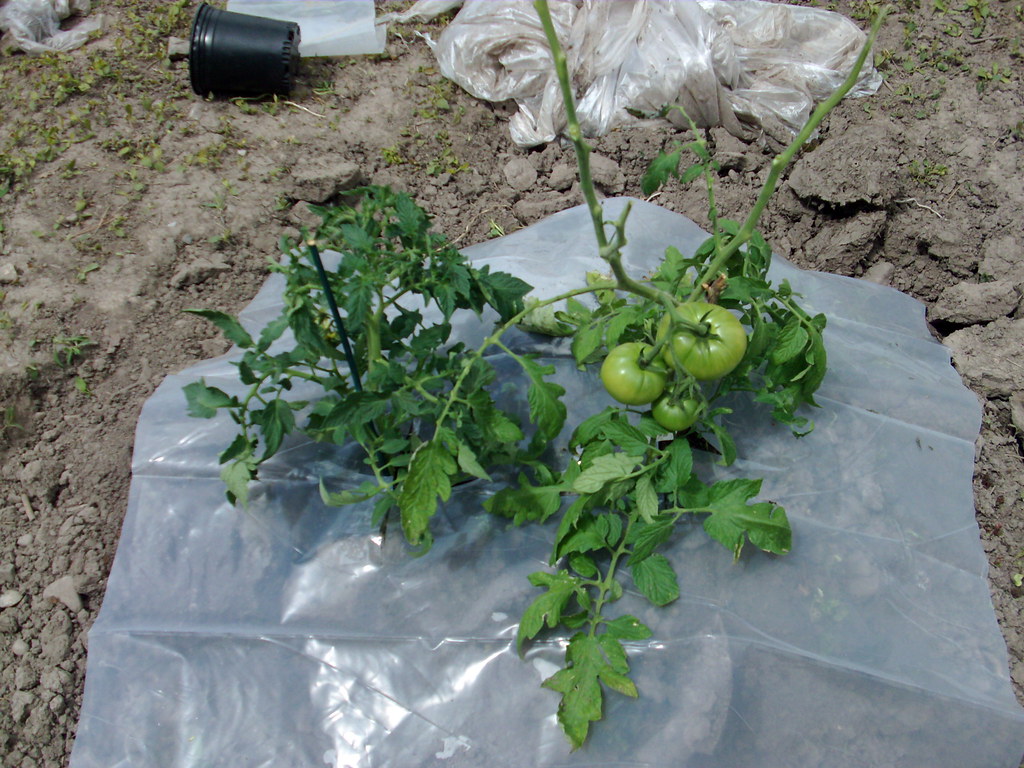
As of May 1st last year,
this is what they looked like. There were also
2 or 3 tomatoes growing on each plant. This year's plants have a lot of catching up to do.
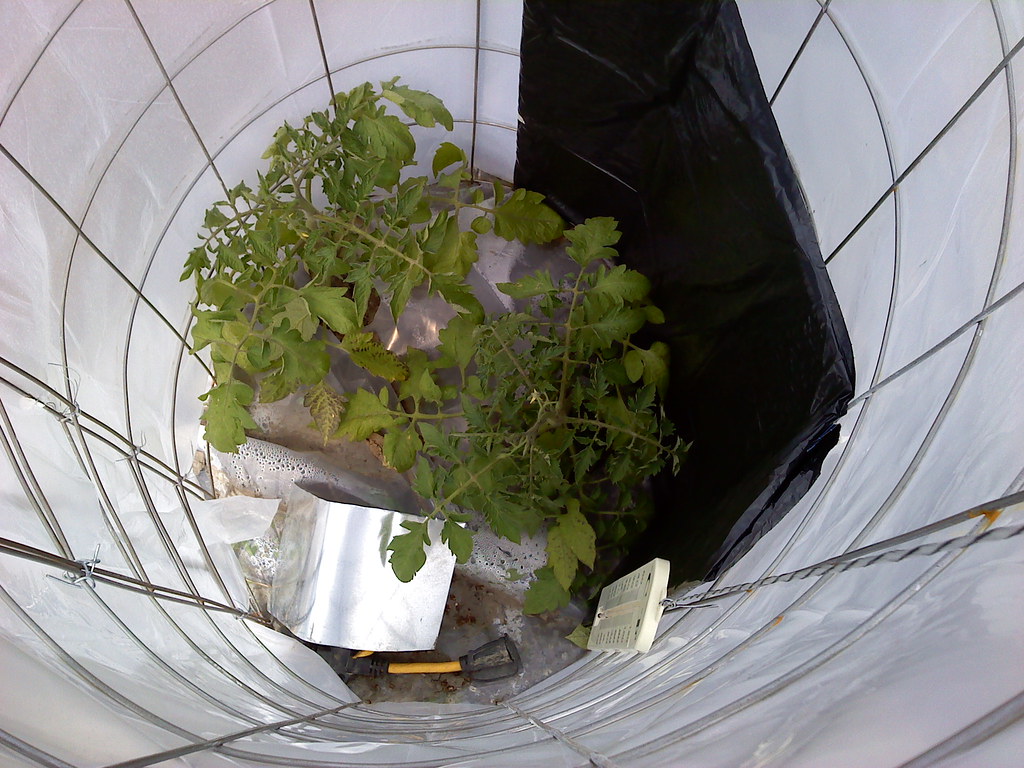
Update as of May 5:It froze last night (got down to 24.6 degrees) and my tomato plants are STILL ALIVE!!! I am very grateful. I had added black plastic to the cages yesterday, which may have helped, along with prayer. I put a large black garbage bag around a sheet of cardboard and put it in the side of the cage. This is what Verlin Simmons had done. Black absorbs heat. Here they are:
Two Romas (some leaves have a few black spots on them but the plant is just fine)
Kelloggs Breakfast (looking a little yellow, but it was this way before the frost)
Big Beef in small cage
Big Beef in other small cage
Big Beef in new larger cage. I only had enough black plastic and cardboard for 4 cages. This cage keeps the warmest of all so it doesn't have black plastic.
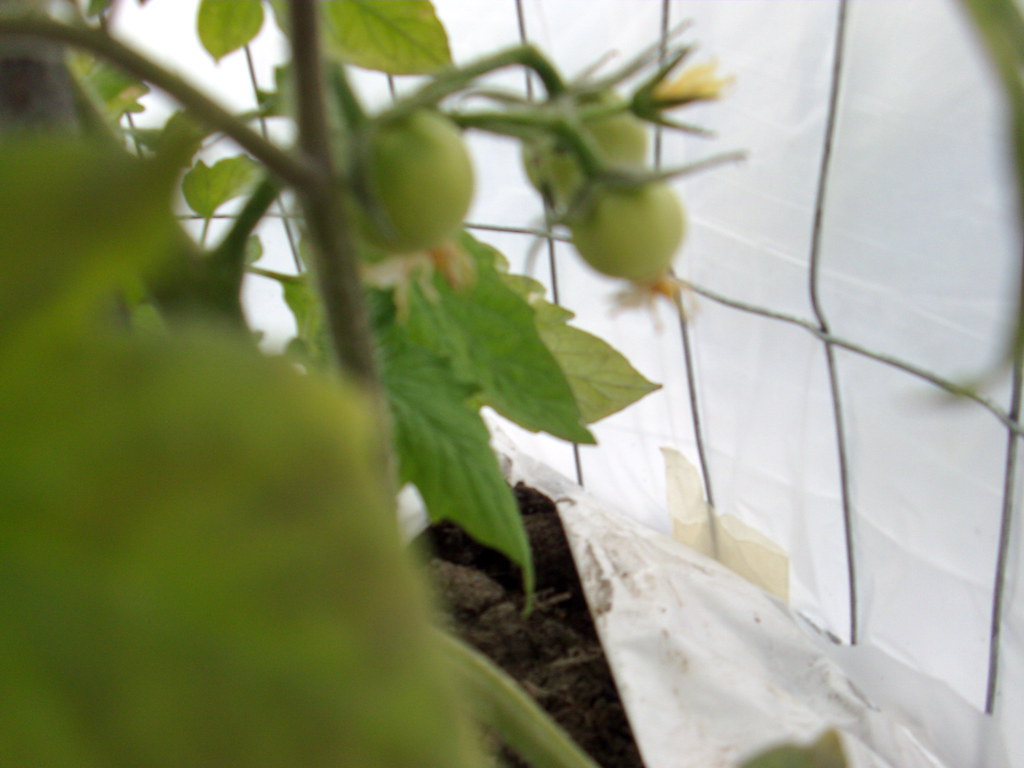
Update as of June 11thWe were on vacation for two and a half weeks. I set up the lights on a timer and left the cages with plastic and the tops halfway covered. When we came home the three big beef plants had grown to the top of their cages. The Kellogg's breakfast had a ripe tomato. The big beef plant on the far right has 21 tomatoes (still green) and the next big beef has no tomatoes but lots of blossoms. The big beef in the middle has 9 tomatoes growing. The Kellogg's breakfast has 6 tomatoes. The Roma plant has 1 that I could see. They are very dense but short, so it was difficult to see.
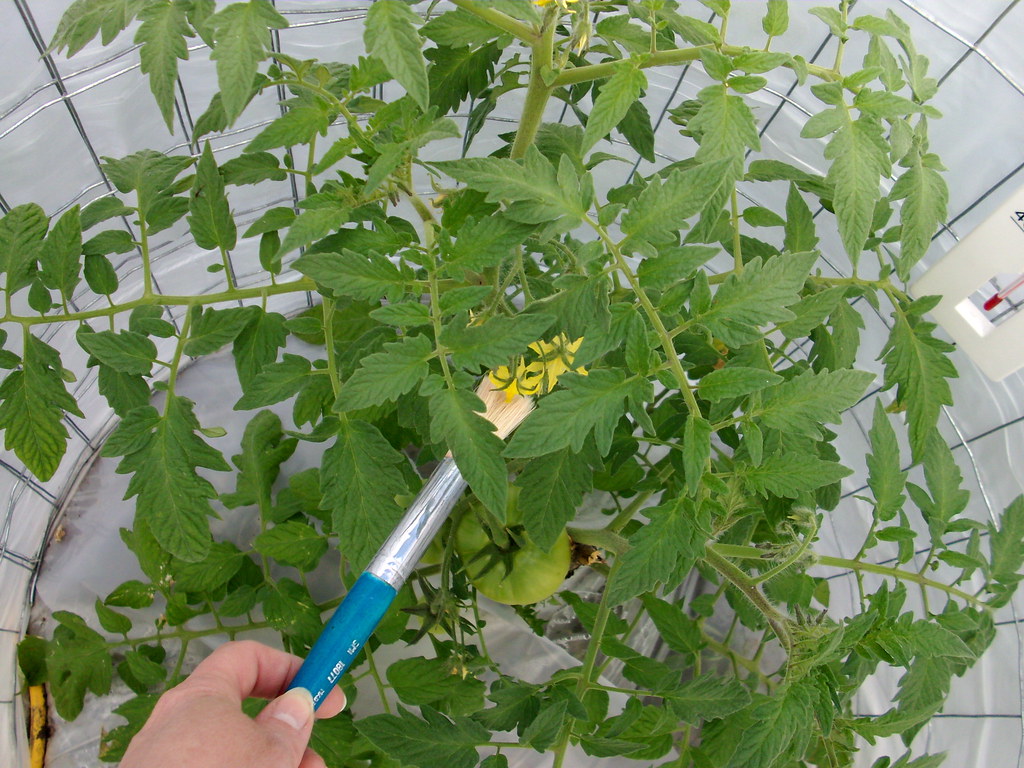
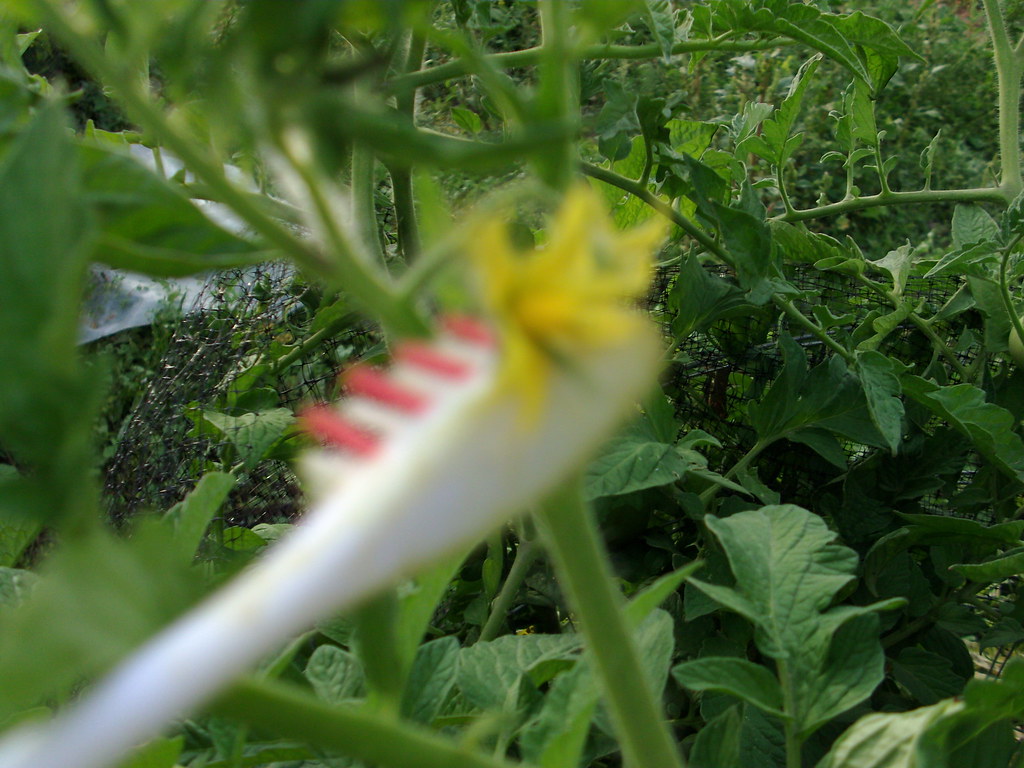
June 13:I took out the light bulbs and they no longer have lights on at night. I had been using lights up until today on a timer going on in the evening and turning off in the morning. I pollinated with an electric toothbrush before we left to Arizona on May 27th and also on Monday after we got home June 13th).
June 20th update:I officially have a 2nd ripe tomato from the Kellogg's Breakfast plant. Bugs got to my first official ripe one. These tomatoes are ripe when they turn orange.

View of Roma plants from the top.

view of Kellogg's Breakfast from the top

View of 1st Big Beef plant from the top

View of 2nd Big Beef from the top

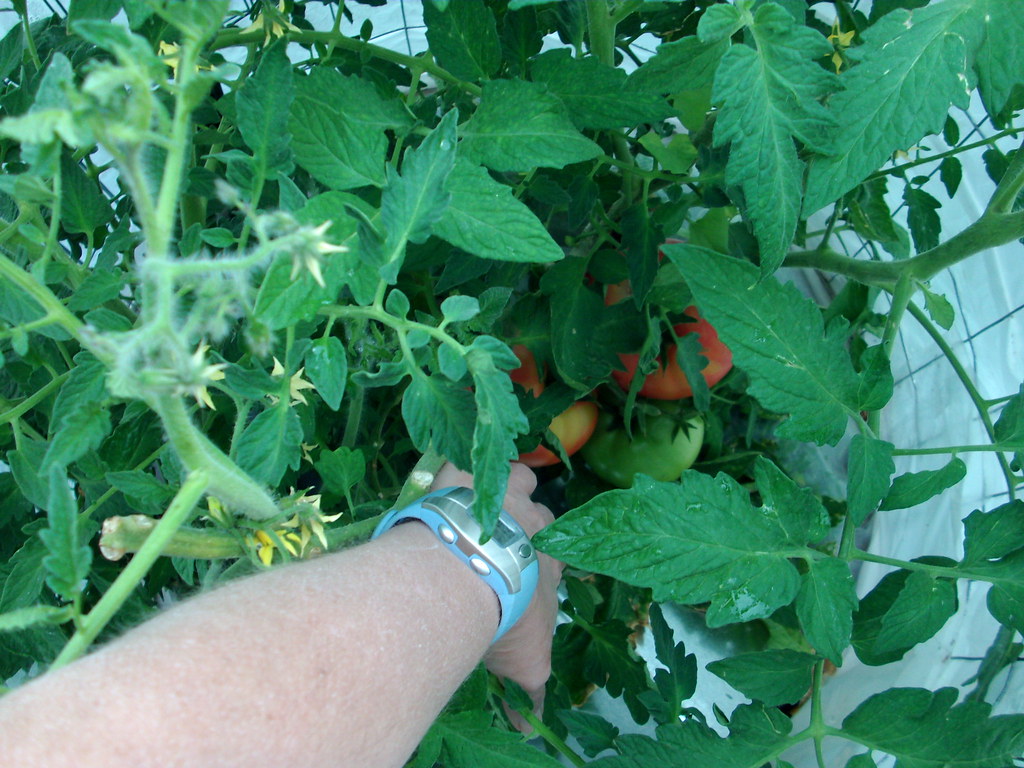
View of last Big Beef from the middle of the plant (so you can see the tomatoes)

The plants don't look so good in the pictures, but in real life they do look good. Double click on the picture and you can see the tomatoes.
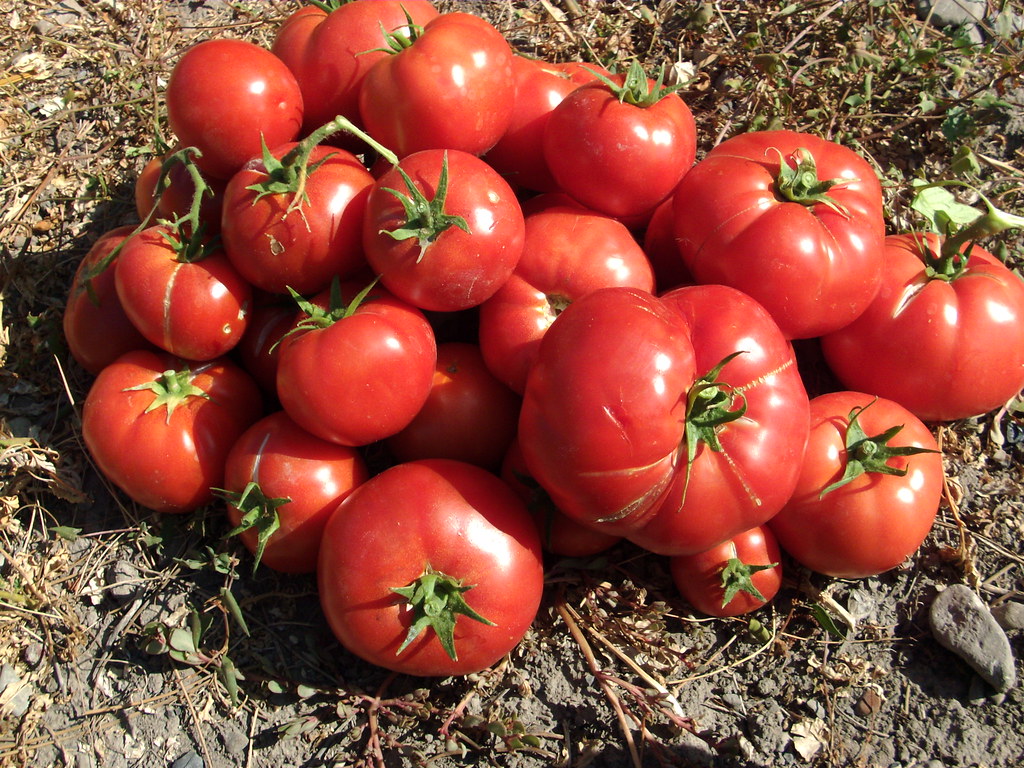
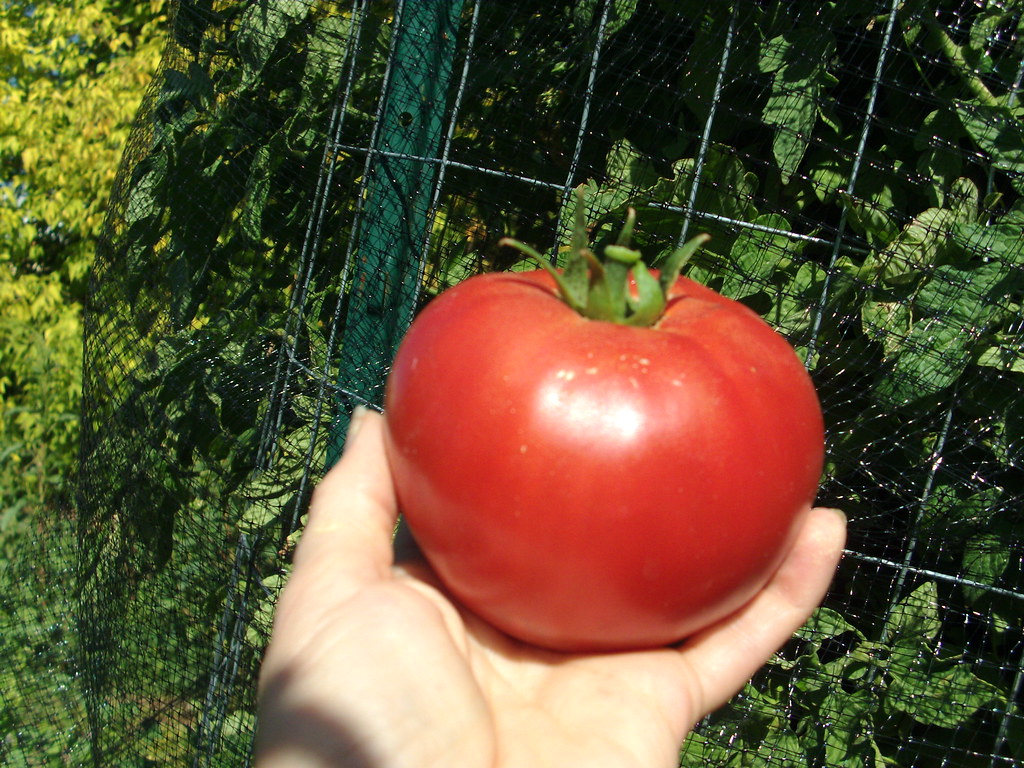
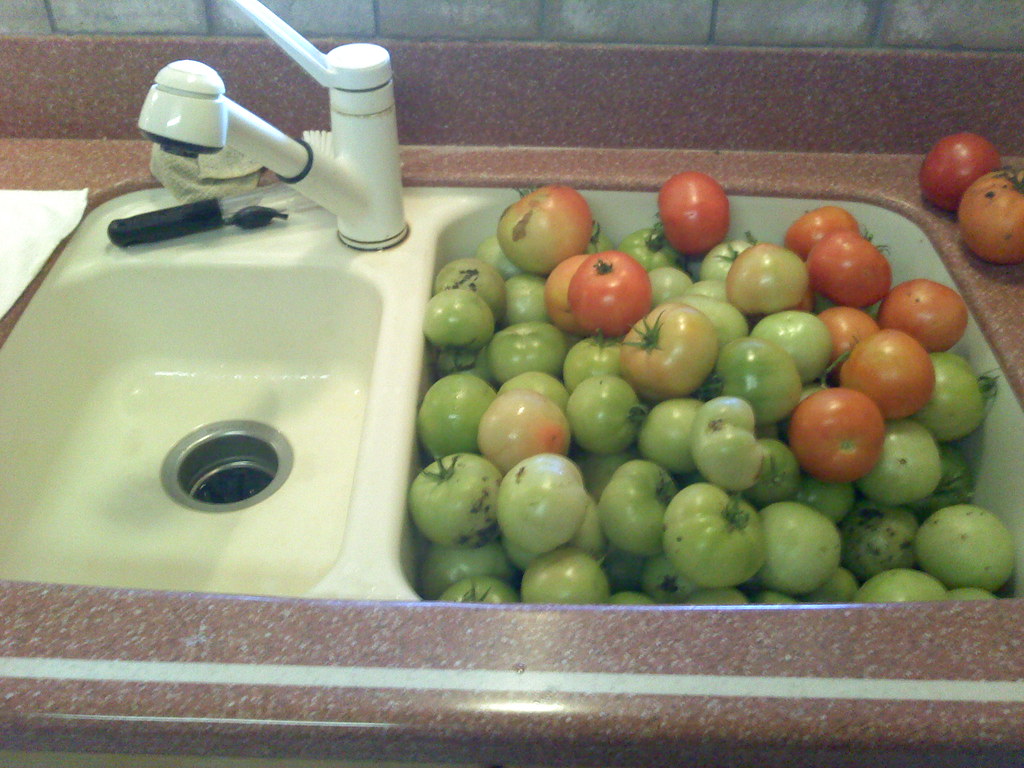
Update as of July 31st:Now I have picked more ripe tomatoes than I have kept track of. I stopped counting after about 20 or so. I have enough to eat whenever I want a tomato, which is about 2 or so a day. The Kellogg's Breakfast tomatoes are not that great tasting and the plant is scrawny and ugly looking. I won't plant them again. The Roma plants have not had a ripe one yet, but there are a ton of tomatoes on the plant. I imagine they will all ripen at the same time. I like how the Big Beef plants give me tomatoes evenly spaced throughout the summer.


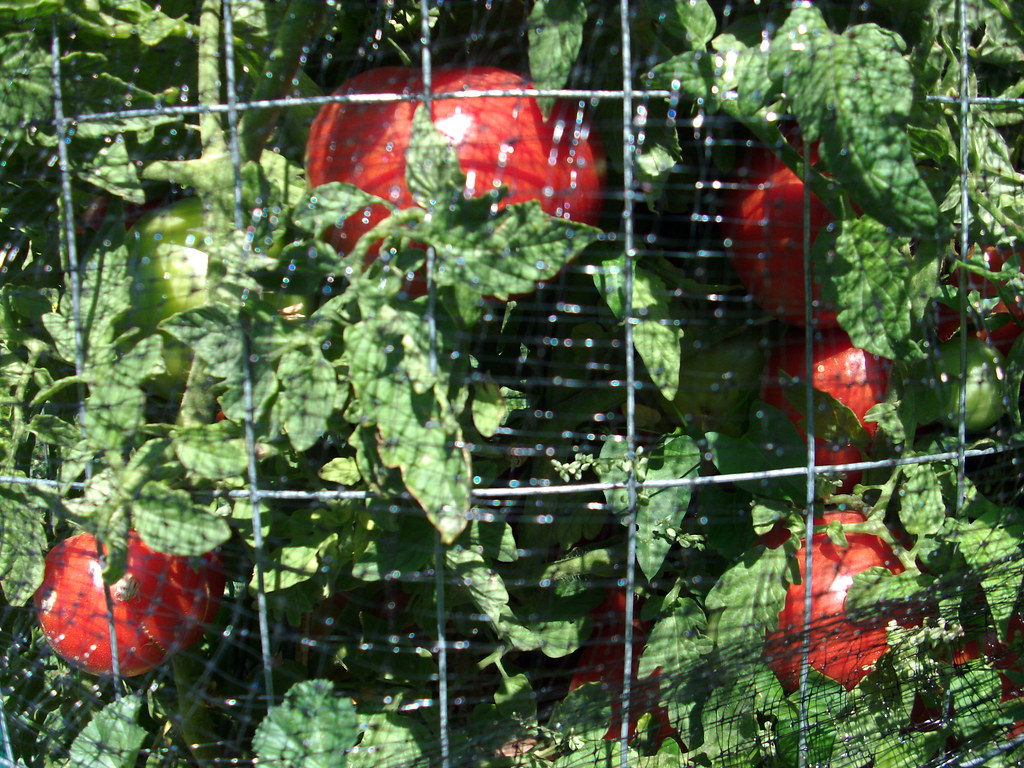
 Sometimes birds eat tomatoes because they are thirsty. So I put out a water dish for the birds.
 I also put some mesh around each cage so they can't get in. I think I'm covered now. Next tomato is mine!
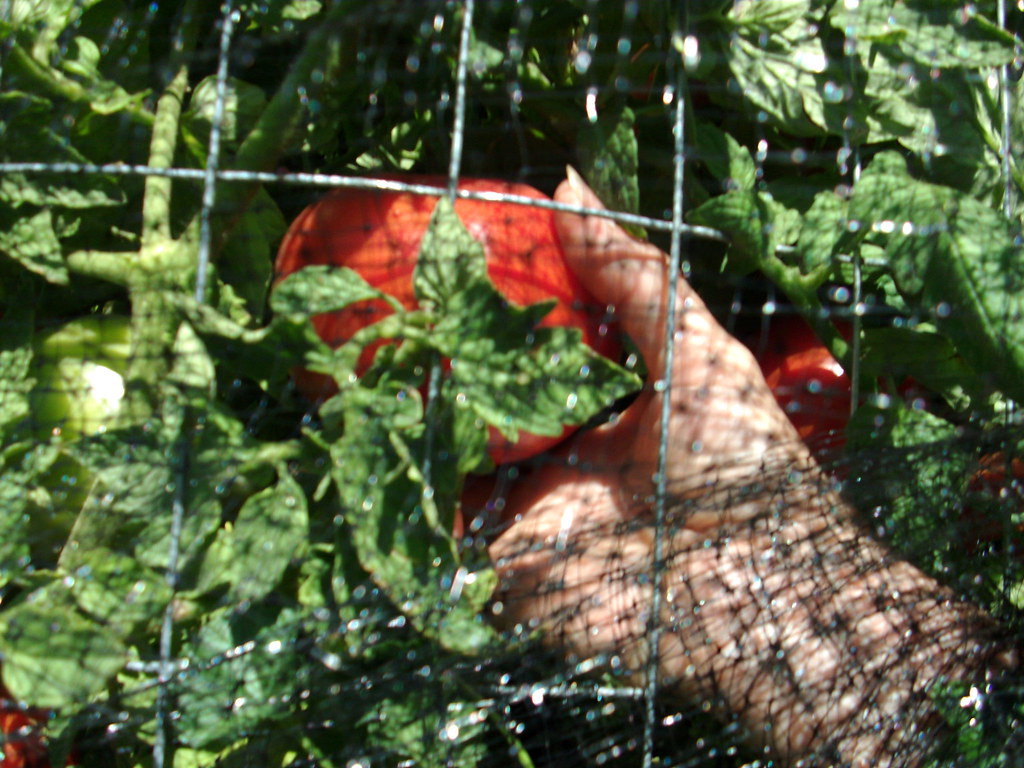
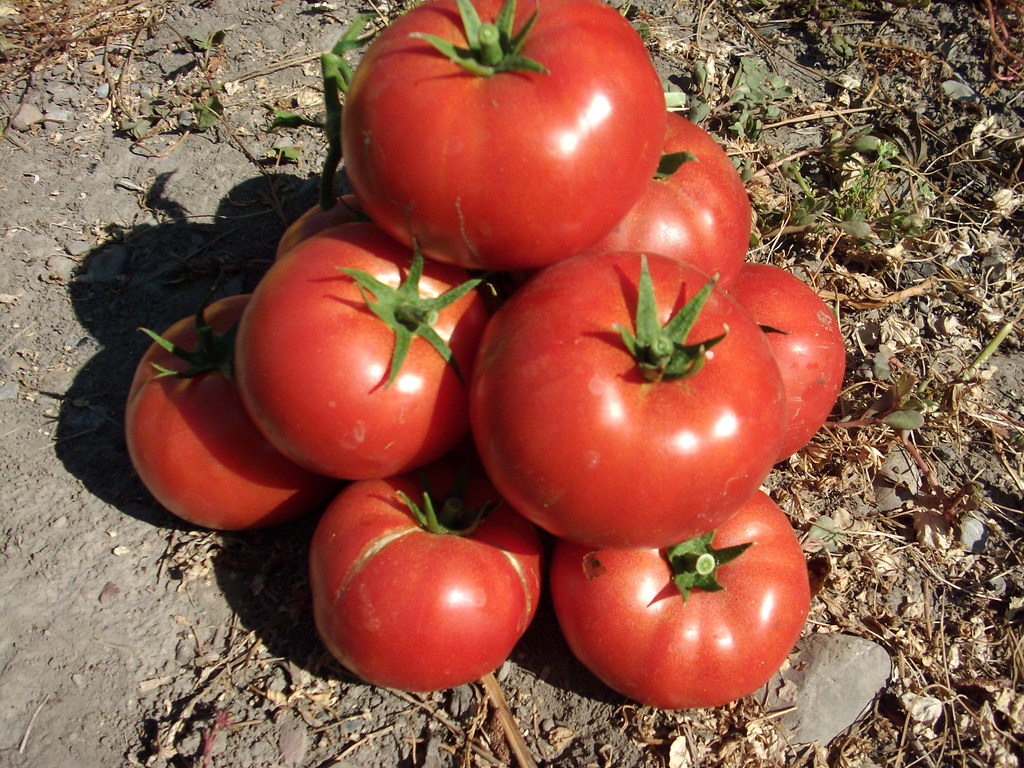
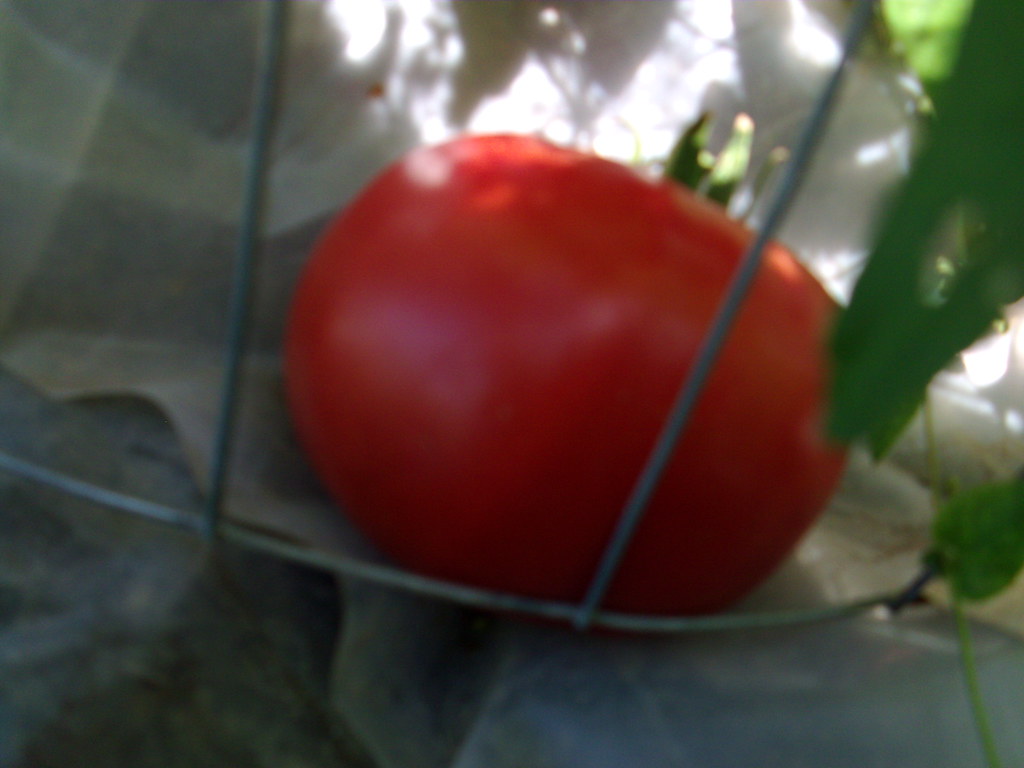
 Within a few days there are several tomatoes that will be ripe.


